
Using Job Images in Your Designer Layouts
Brief Overview
Job Images allow you to store reusable graphics such as logos, backgrounds, and design elements directly inside your job. These graphics can then be dynamically pulled into any Designer product, ensuring consistency across Memory Mates, Groups, Posters, Trading Cards, and more.
Using Job Images helps studios make more by saving setup time, reducing repetitive uploads, and keeping branding consistent across every product in the job. Because these graphics live directly inside the job, they’re automatically available anywhere the job is used throughout the Captura ecosystem. Job Images also make it easier to build dynamic designs, reducing the need to create and manage multiple price sheets for different teams, schools, or events.
What Are Job Images?
Job Images are job-specific graphics that can be used across all Designer products. They’re perfect for:
School or league logos
Backgrounds for Memory Mates or Posters
Design elements used across multiple products
Seasonal or event-specific branding
Sponsor logos
Team or organization marks
Because they live inside the job, these graphics automatically become available in Designer for any product that references them.
💡 PRO TIP: Use consistent slot assignments across all jobs (for example, always using Job Image 1 for logos and Job Image 2 for backgrounds). This makes template management faster and reduces setup mistakes during busy seasons.
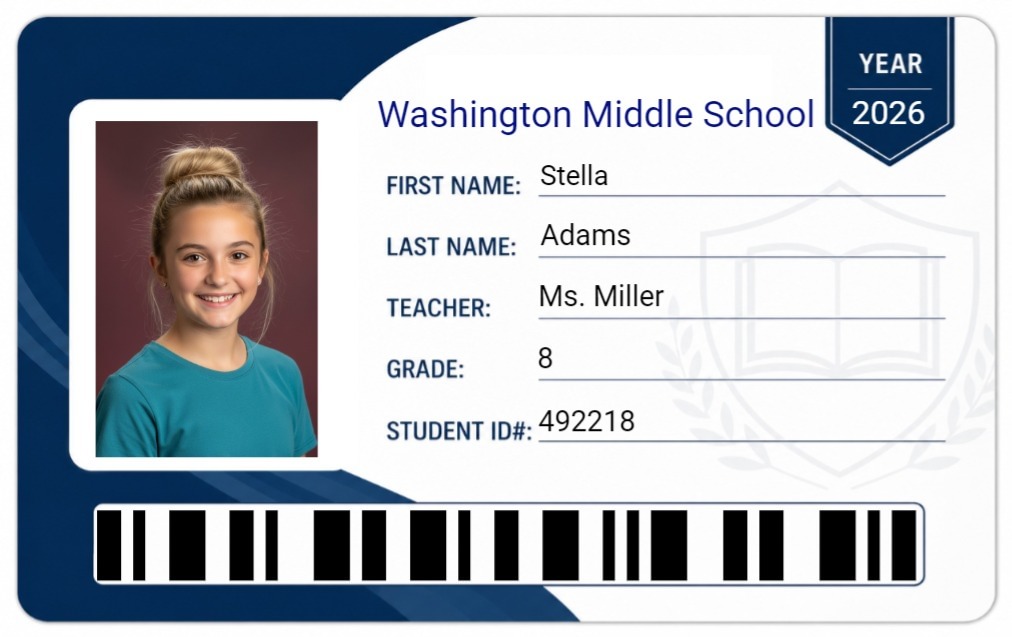
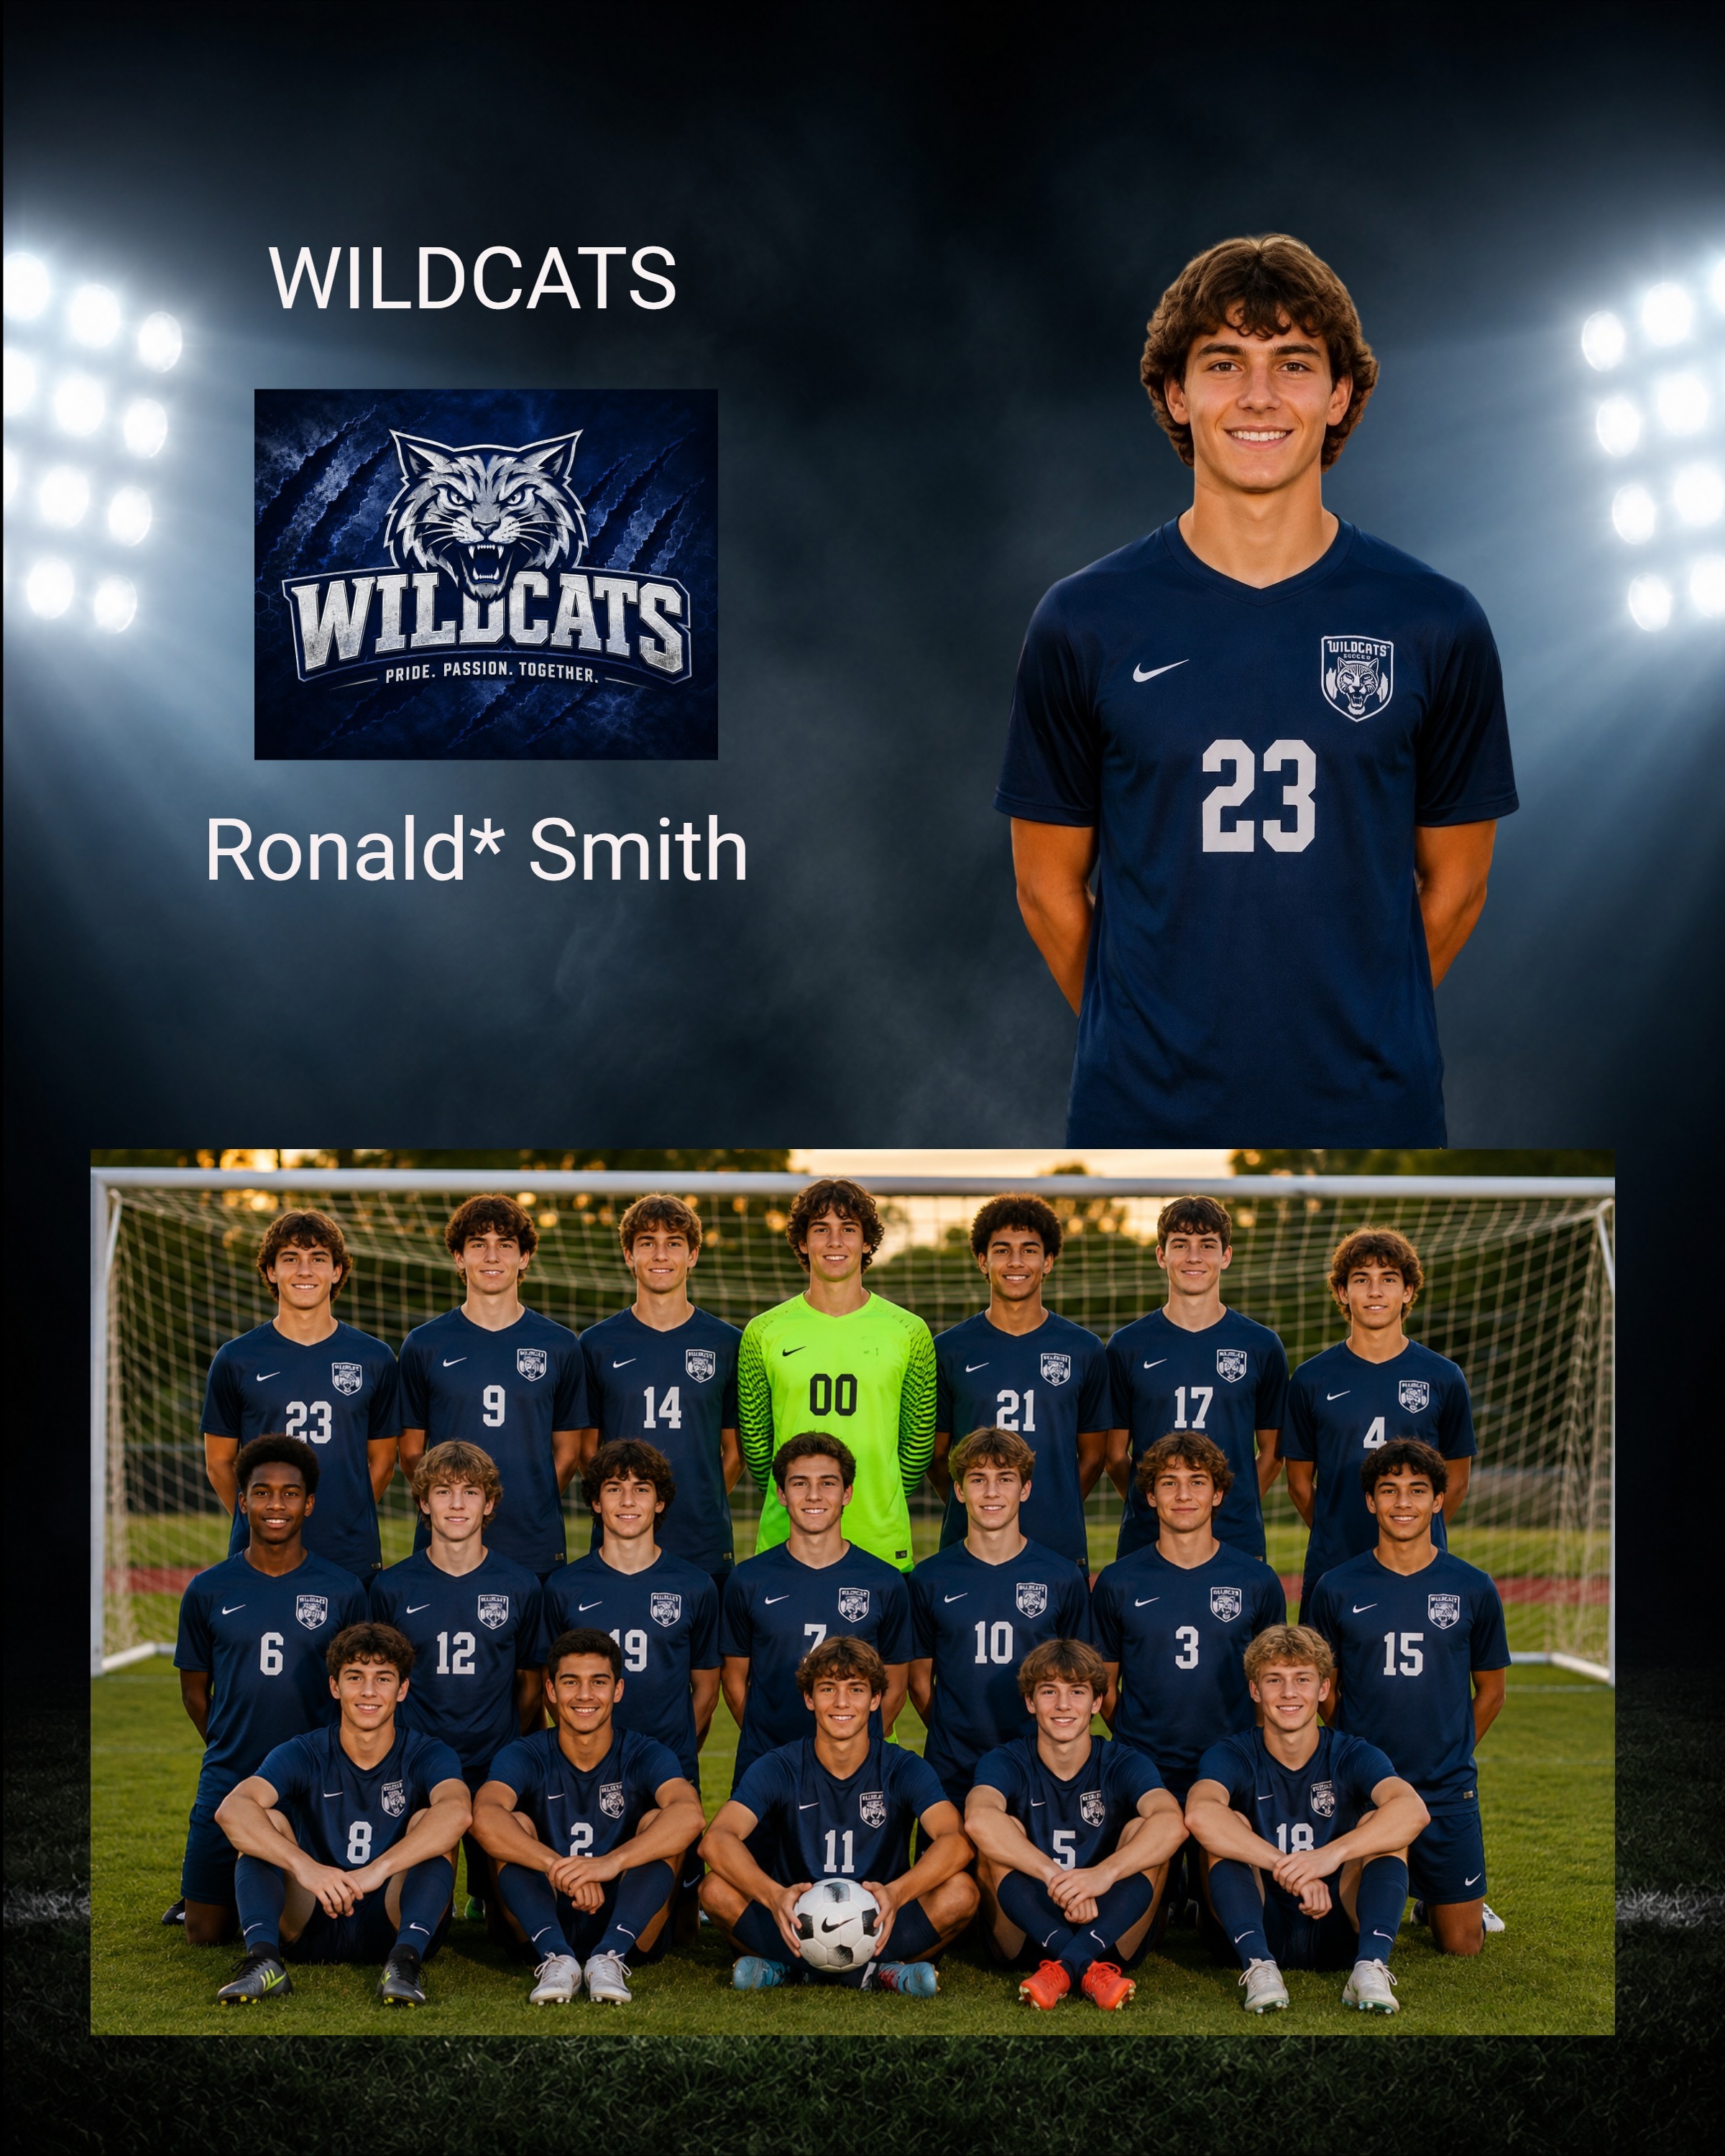
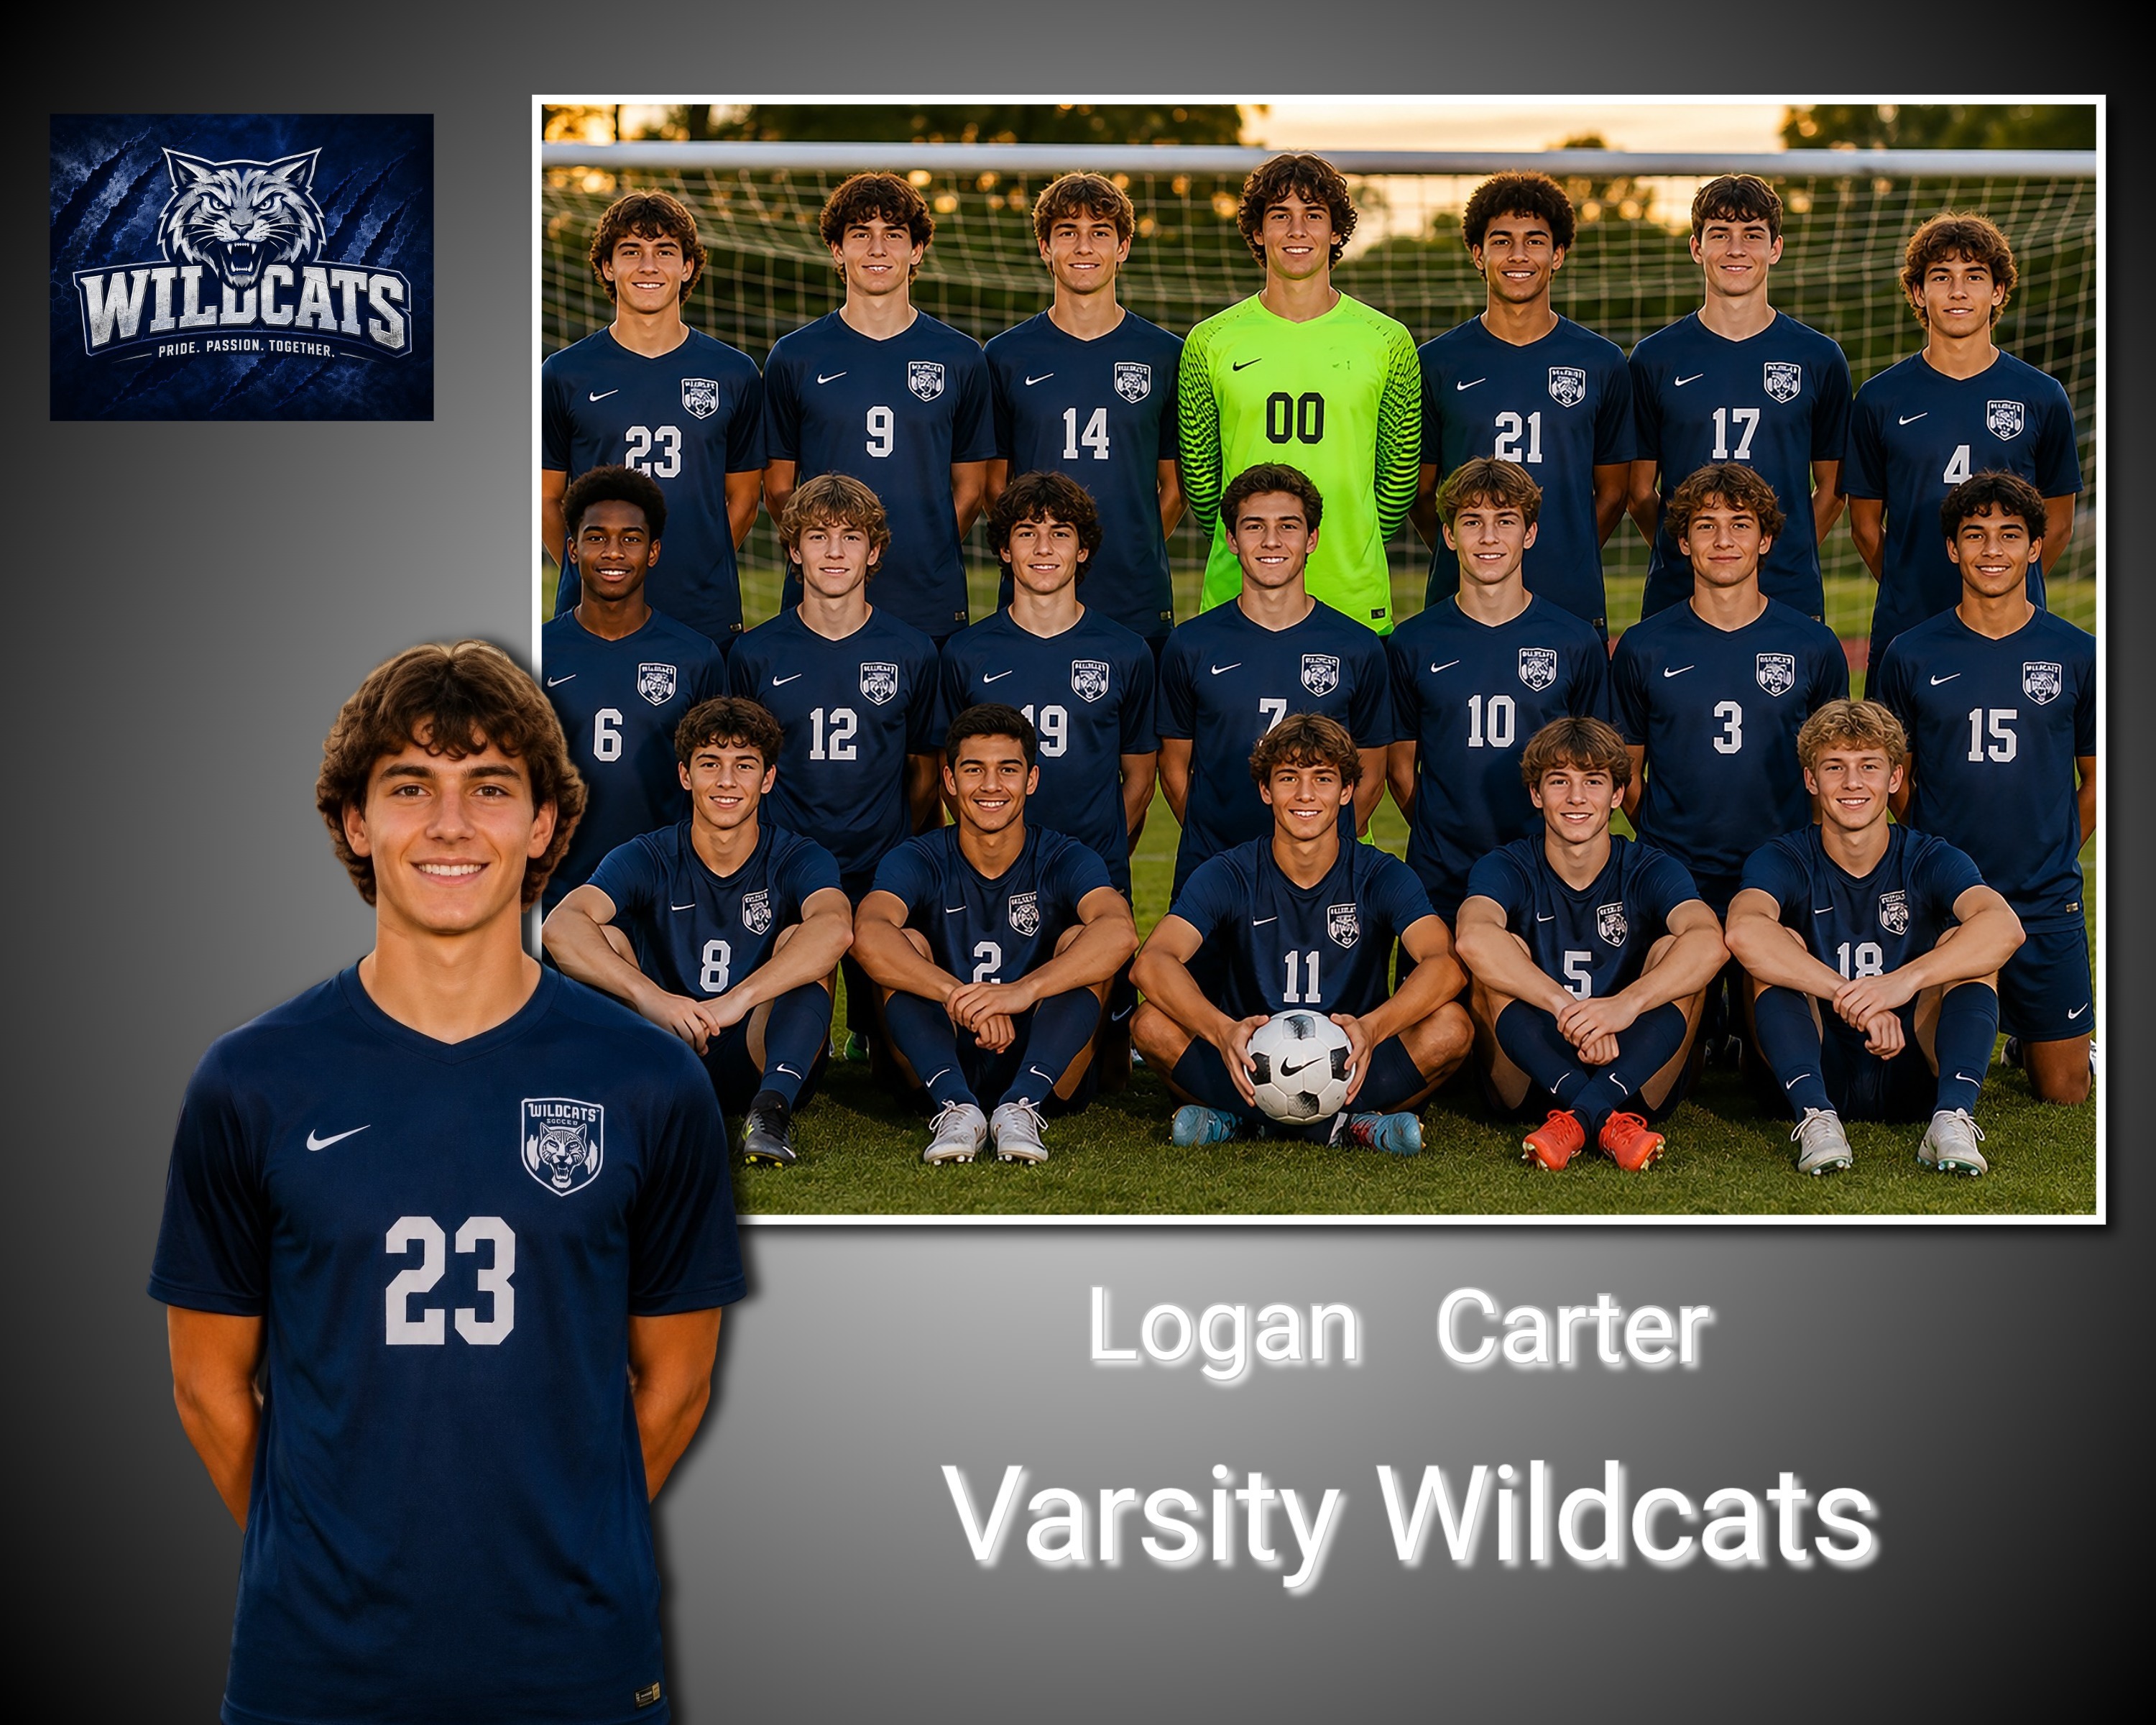
Examples:
Step-by-Step Instructions
Example Workflow
In this example, the dynamic graphics are:
Logo → placed in Job Image 1
Memory Mate Background → placed in Job Image 2
To Set This Up:
Open your Designer template
Click the image node → Click image mapping → select from the drop down:
Job Image 1 for the logo
Job Image 2 for the background
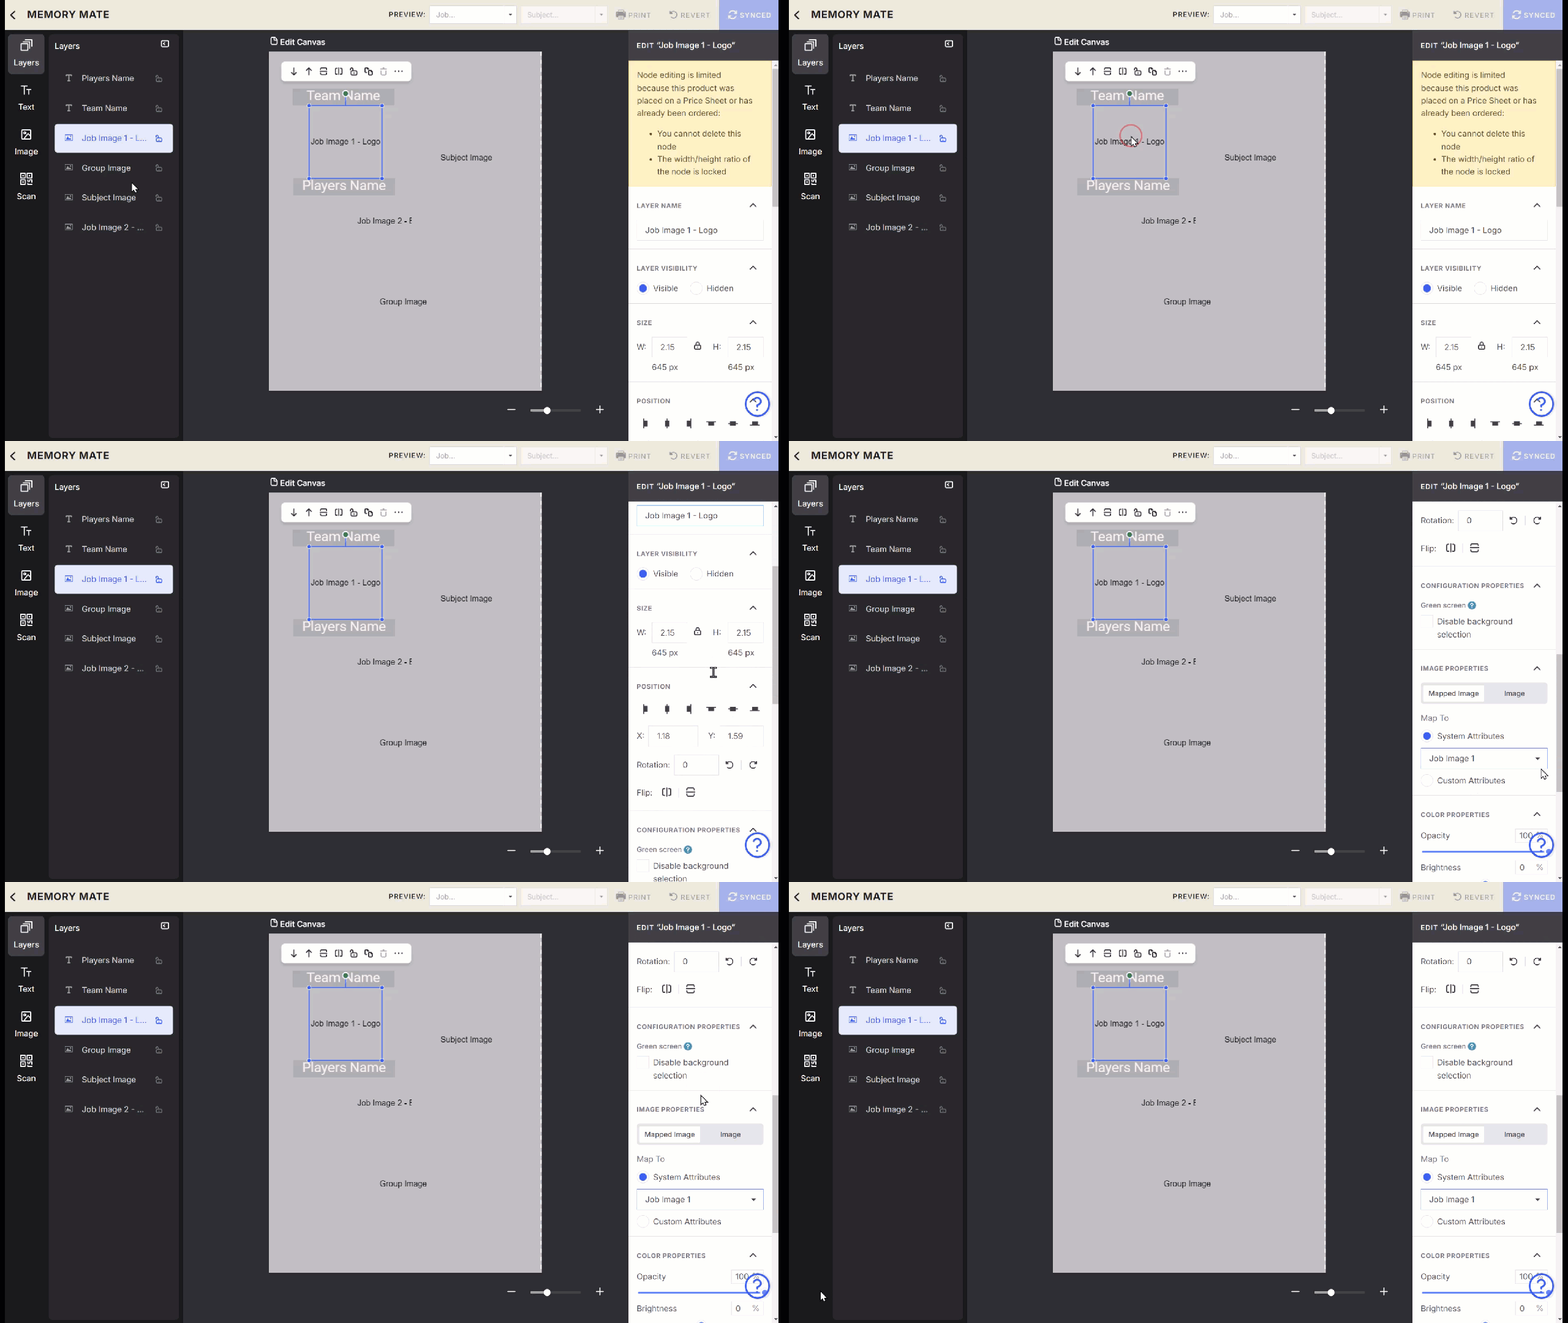
Sync your changes
Open your price sheet and add the Memory mate product
Price sheet → My Products → Folder that contains product → Memory Mate
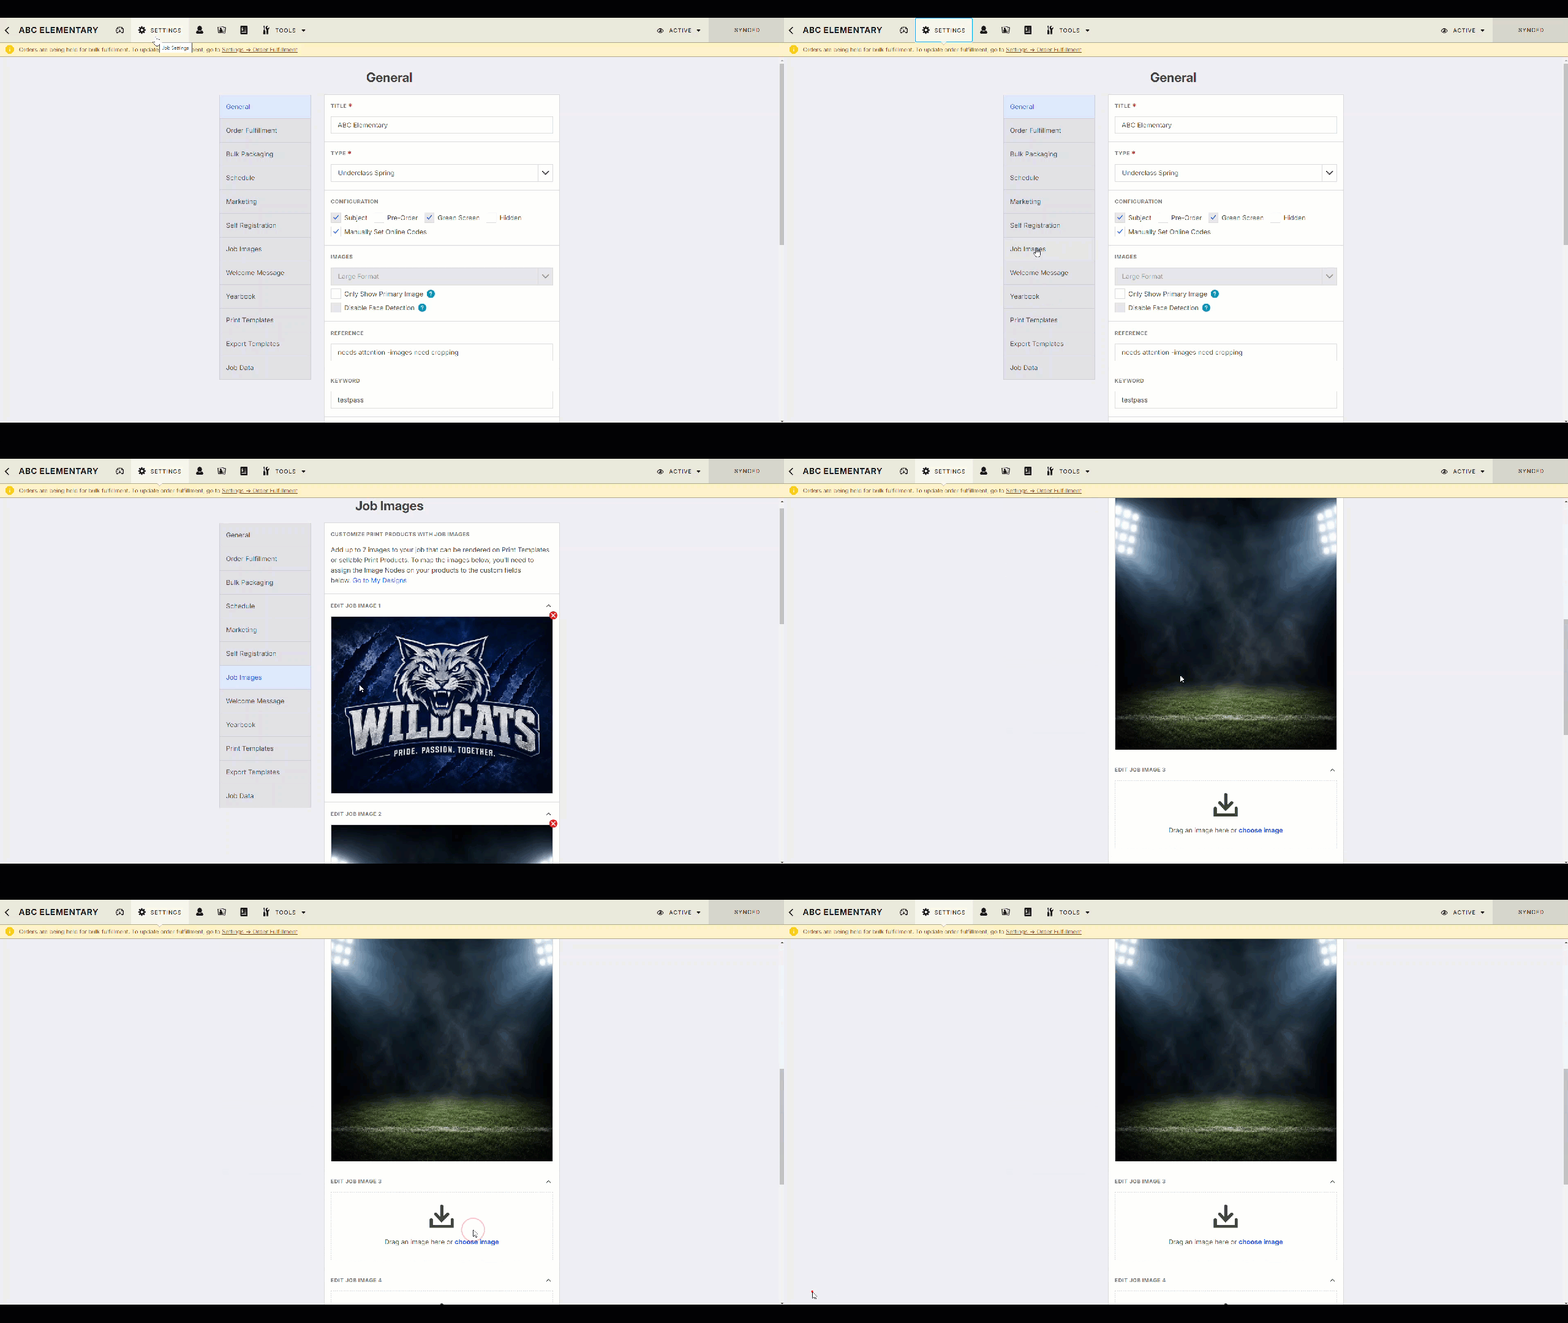
Add your Job Images
Go to Job → Settings → Job Images
Upload your logo into Job Image 1
Upload your MM background into Job Image 2
💡 PRO TIP: Test your design with a print template. Learn more Here.
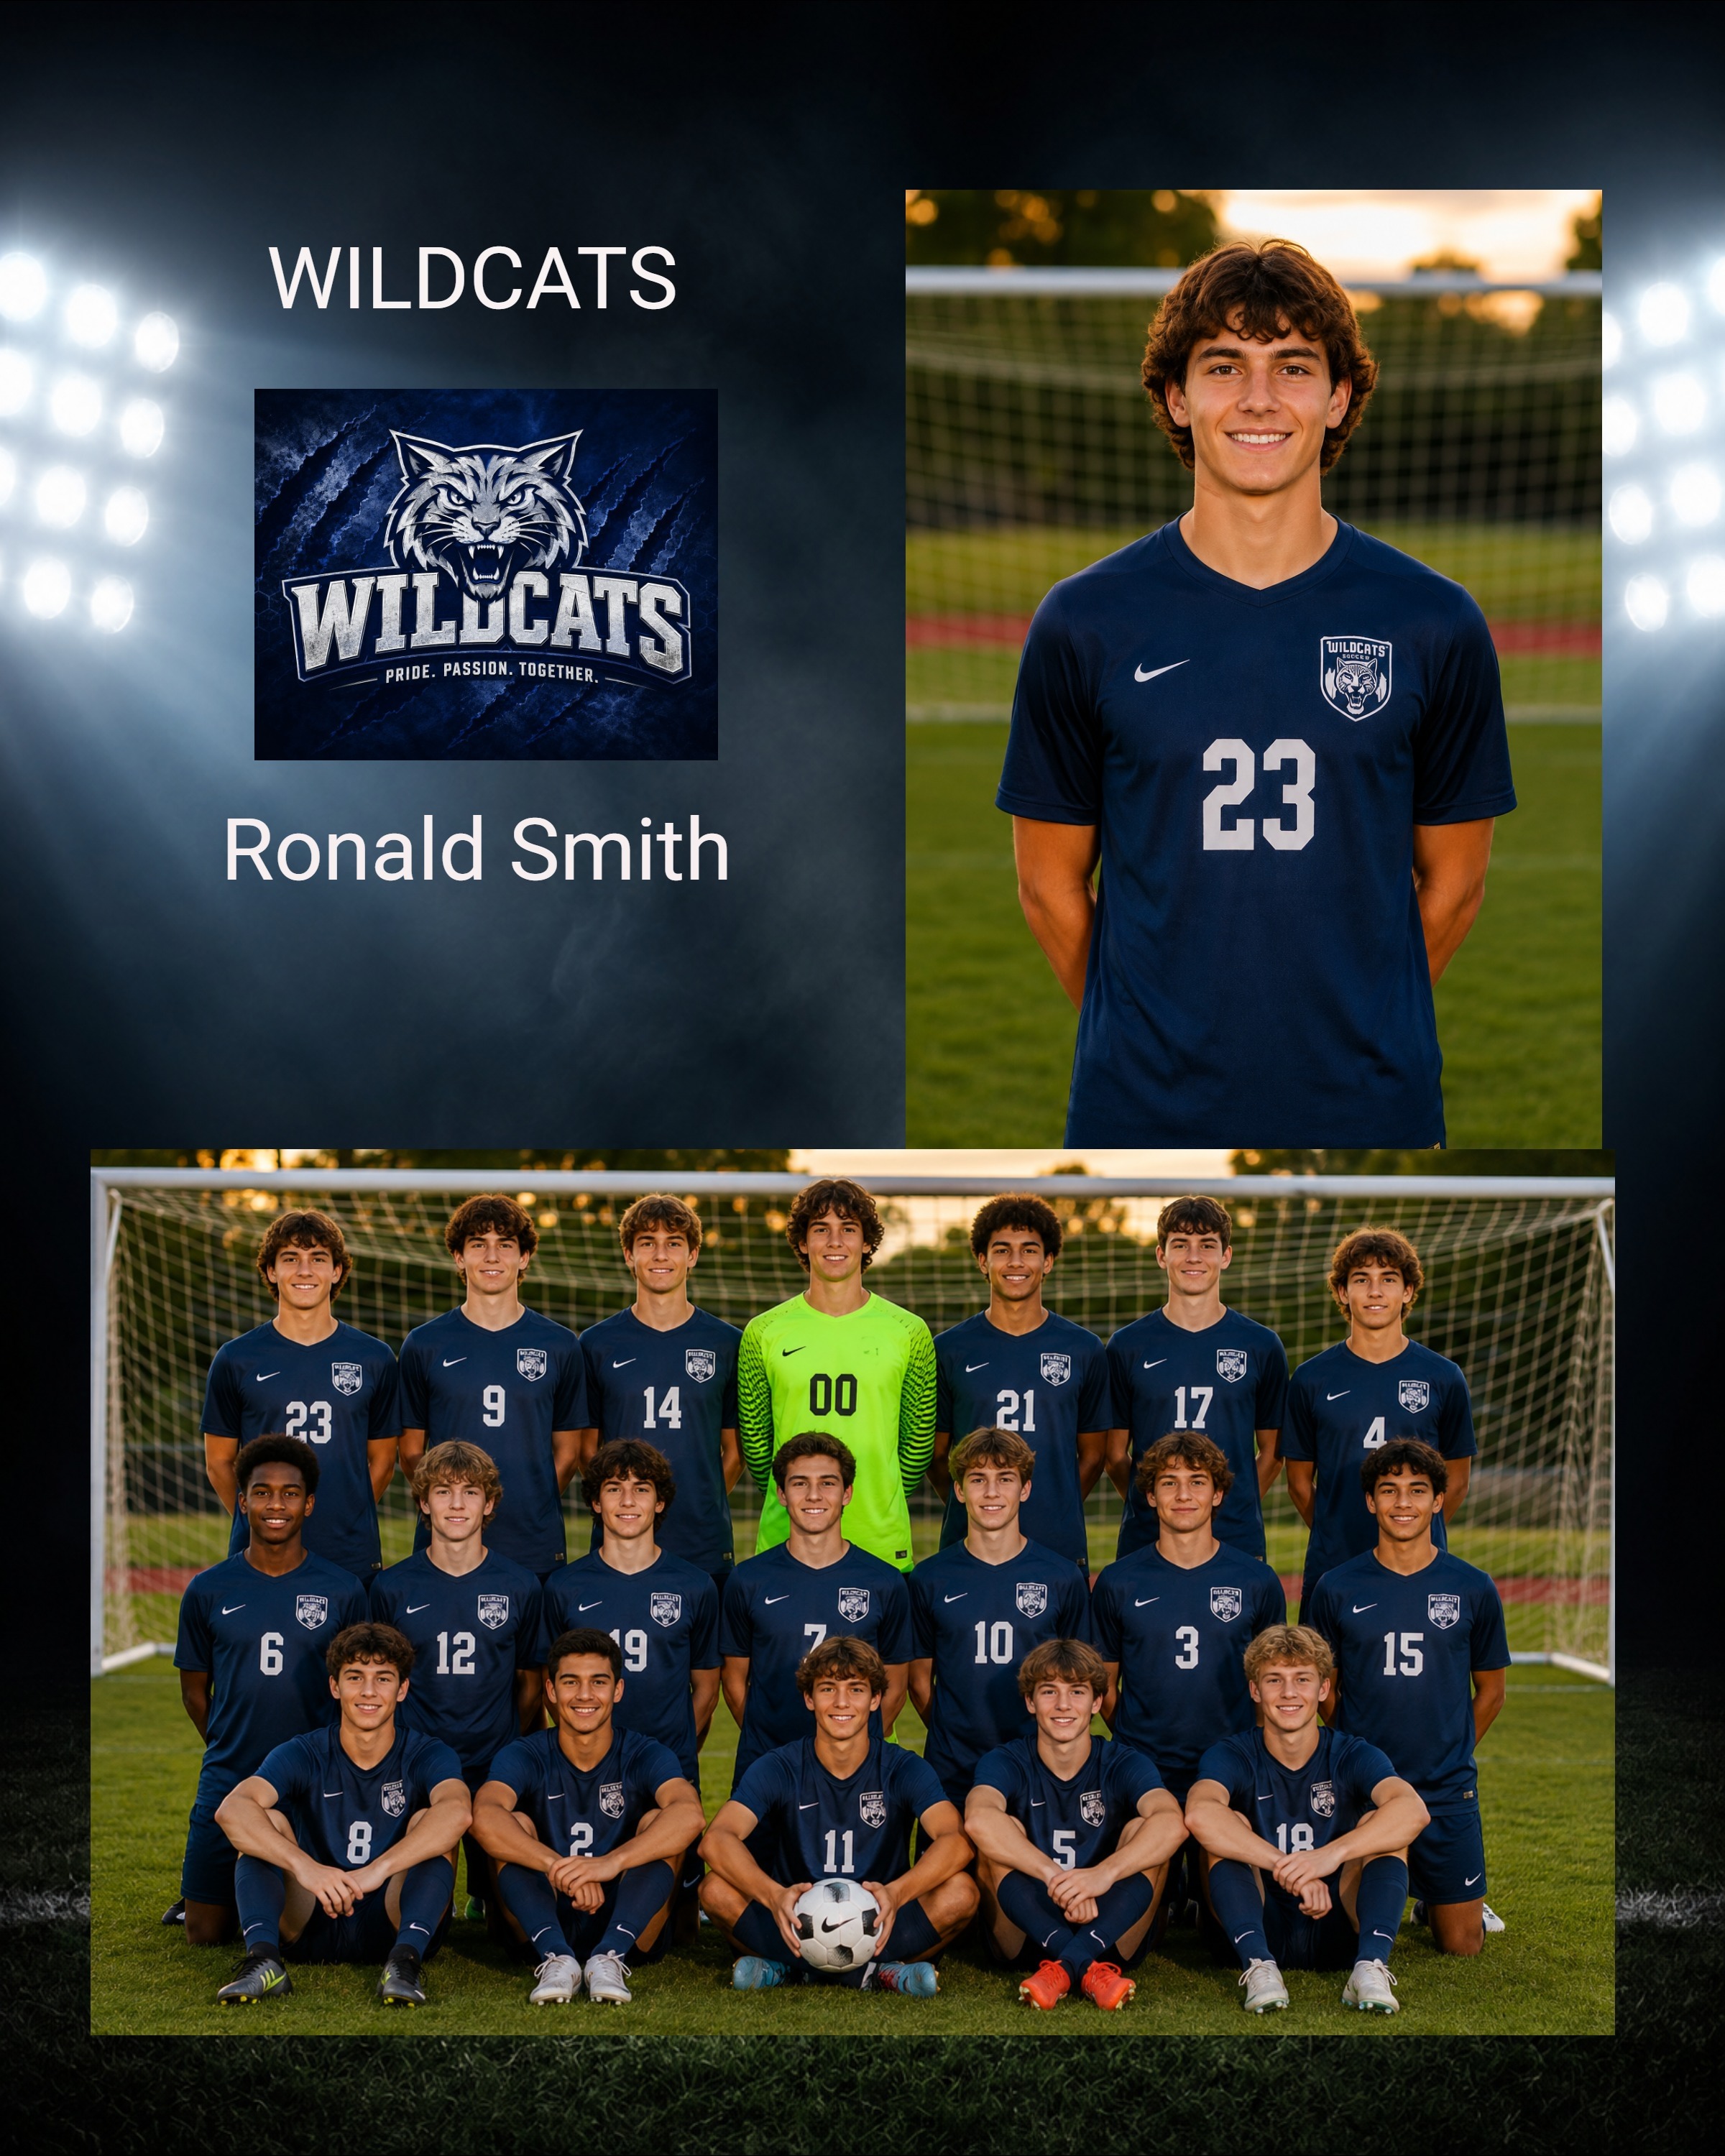
This is the completed design generated from the Memory Mate template.
Advanced Options / Additional Rules
Job Images are tied to the specific job where they’re uploaded.
Any Designer product connected to that job can reference the assigned Job Images dynamically.
Updating a Job Image updates all products using that image reference, helping maintain consistency across the entire job.
You can reuse the same Job Image across multiple products without re-uploading the file.
For best results, upload high-resolution PNG files with transparent backgrounds when using logos or overlays.
Common Questions
Q: Can I use the same Job Image in multiple products?
A: Yes. Once uploaded, a Job Image can be referenced across any Designer product connected to that job, including Memory Mates, Posters, Trading Cards, and more.
Q: What happens if I replace a Job Image after templates are already created?
A: Any template using that Job Image reference will automatically pull in the updated graphic, helping you keep branding and designs consistent without manually updating each product.
Q: How many Job Images can I store per job?
A: Each job includes seven available Job Image slots (1–7).
Q: What file types work best for Job Images?
A: PNG files are recommended, especially for logos or graphics requiring transparency. High-resolution files help ensure the best print quality across all products.