Designer: Product Options
Overview
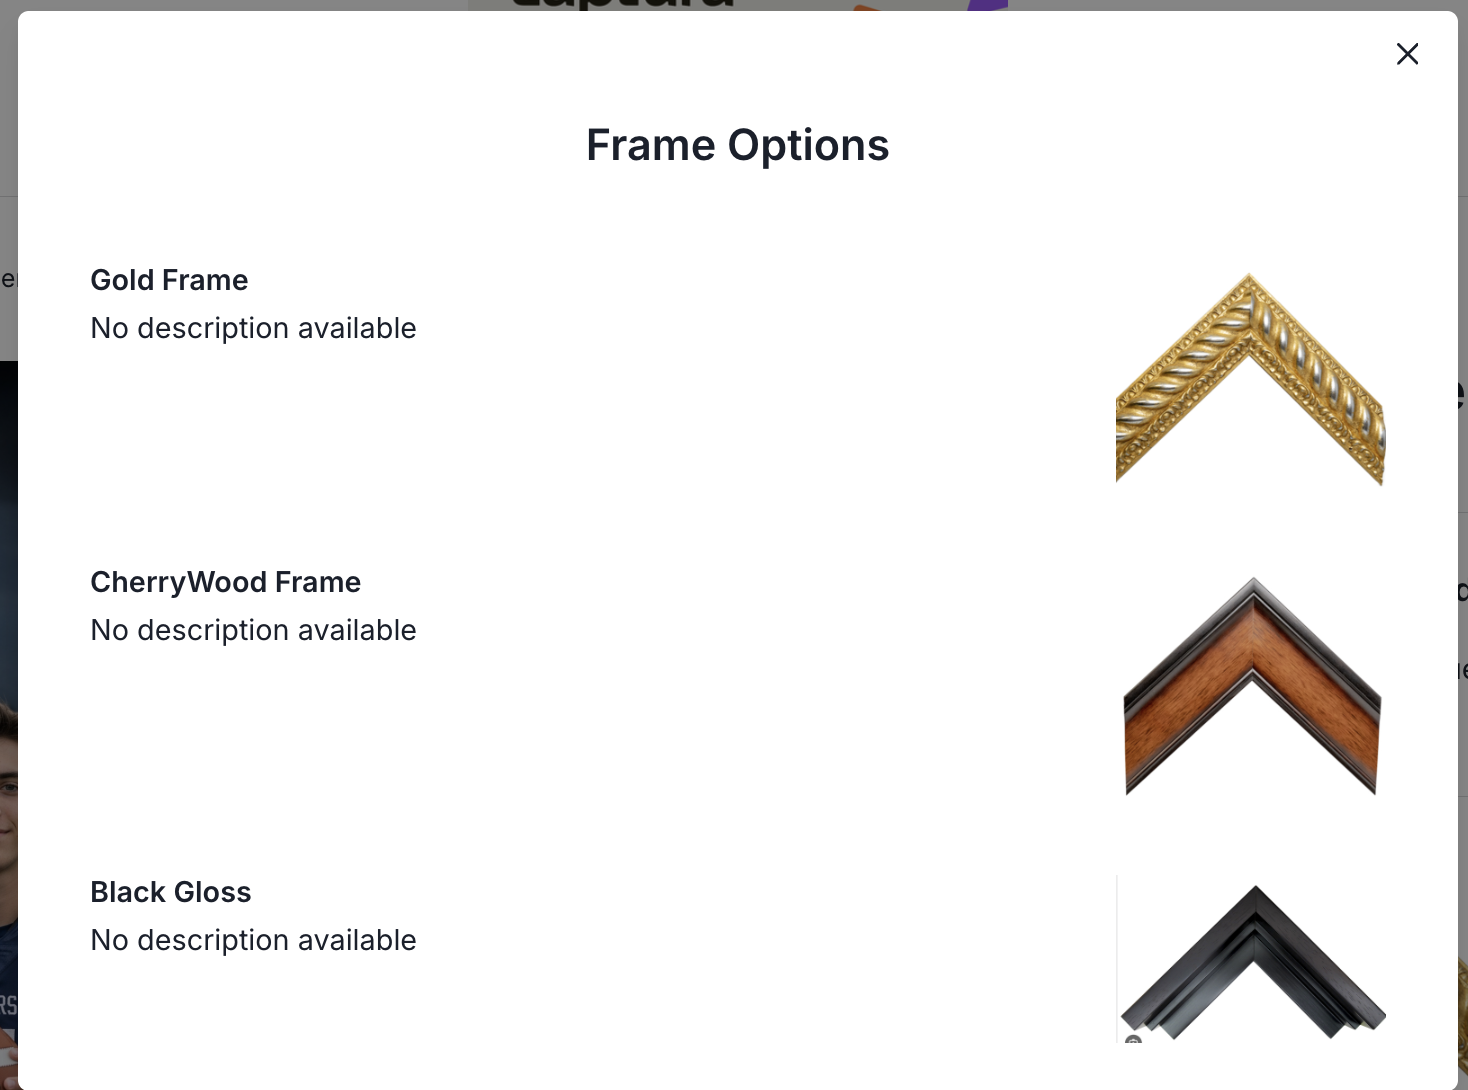
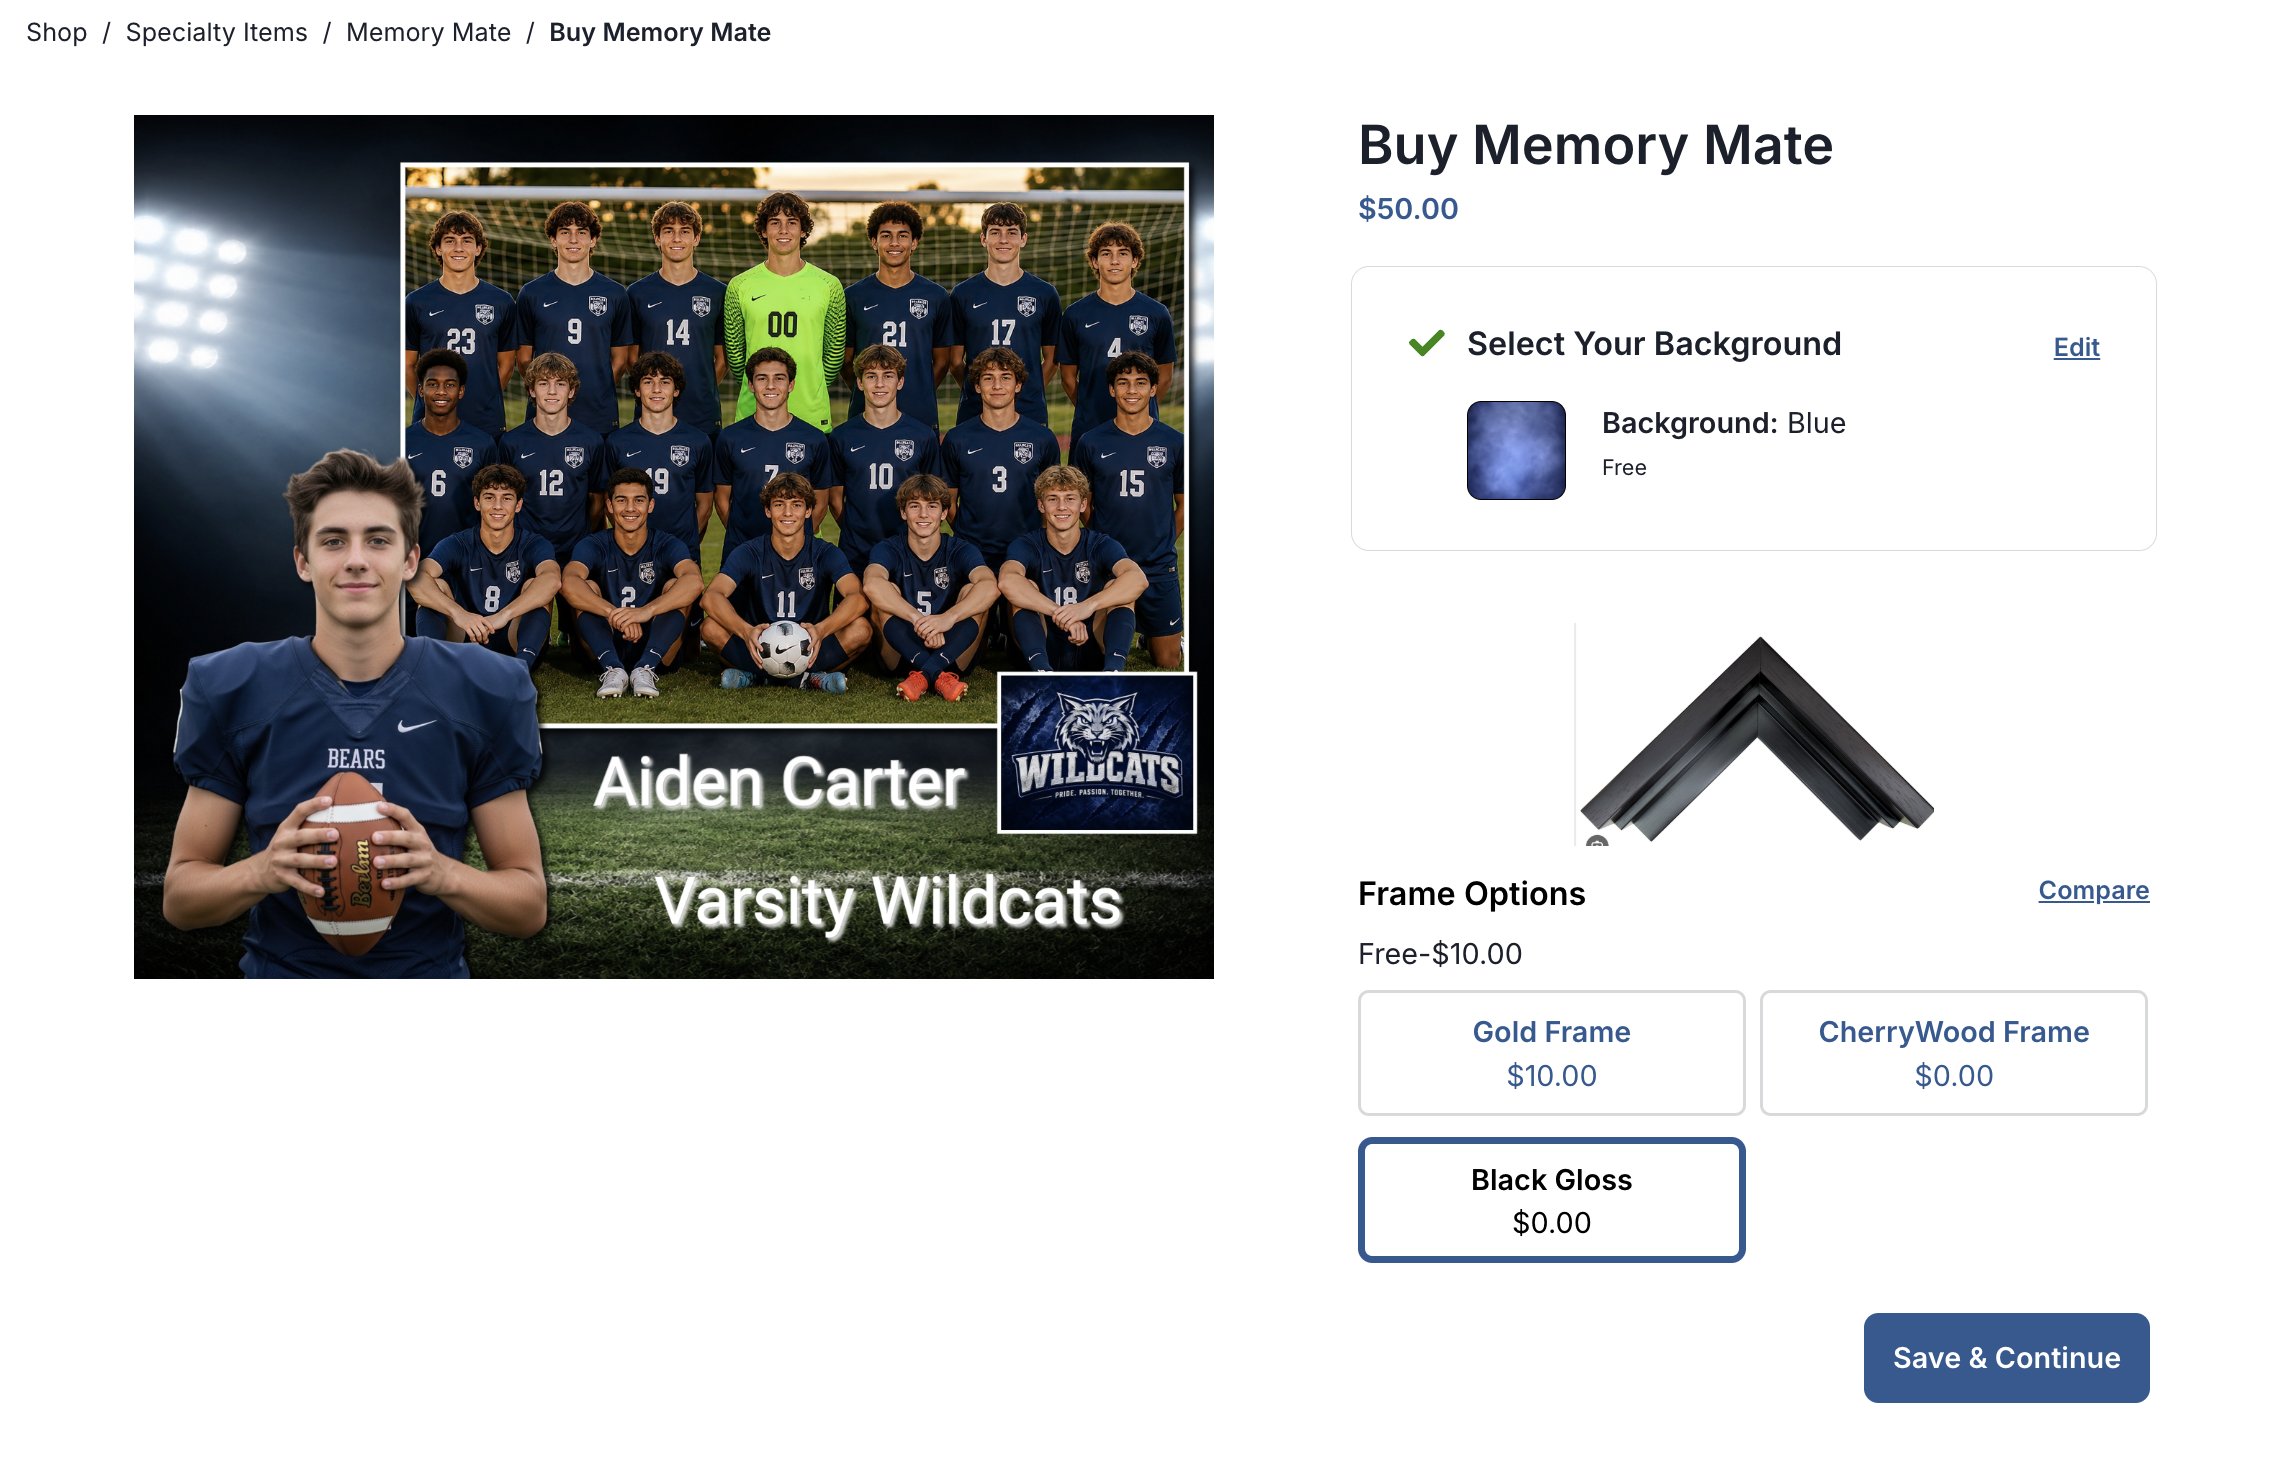
Product Options allow you to offer customers additional choices or upgrades when purchasing a product. These options help you customize how items are produced—such as selecting a frame type, choosing a stand, or offering different print materials like metal, canvas, or paper.
Product Options appear during the ordering process and can be marked as optional or required, depending on your workflow needs.
Examples of Product Options
Product Options can be used for a wide range of customizations, including:
Frames
Stands
Print Types (Metal, Canvas, Paper)
Finish Selections
Pose Choice
Product Upgrades
How to Create Product Options
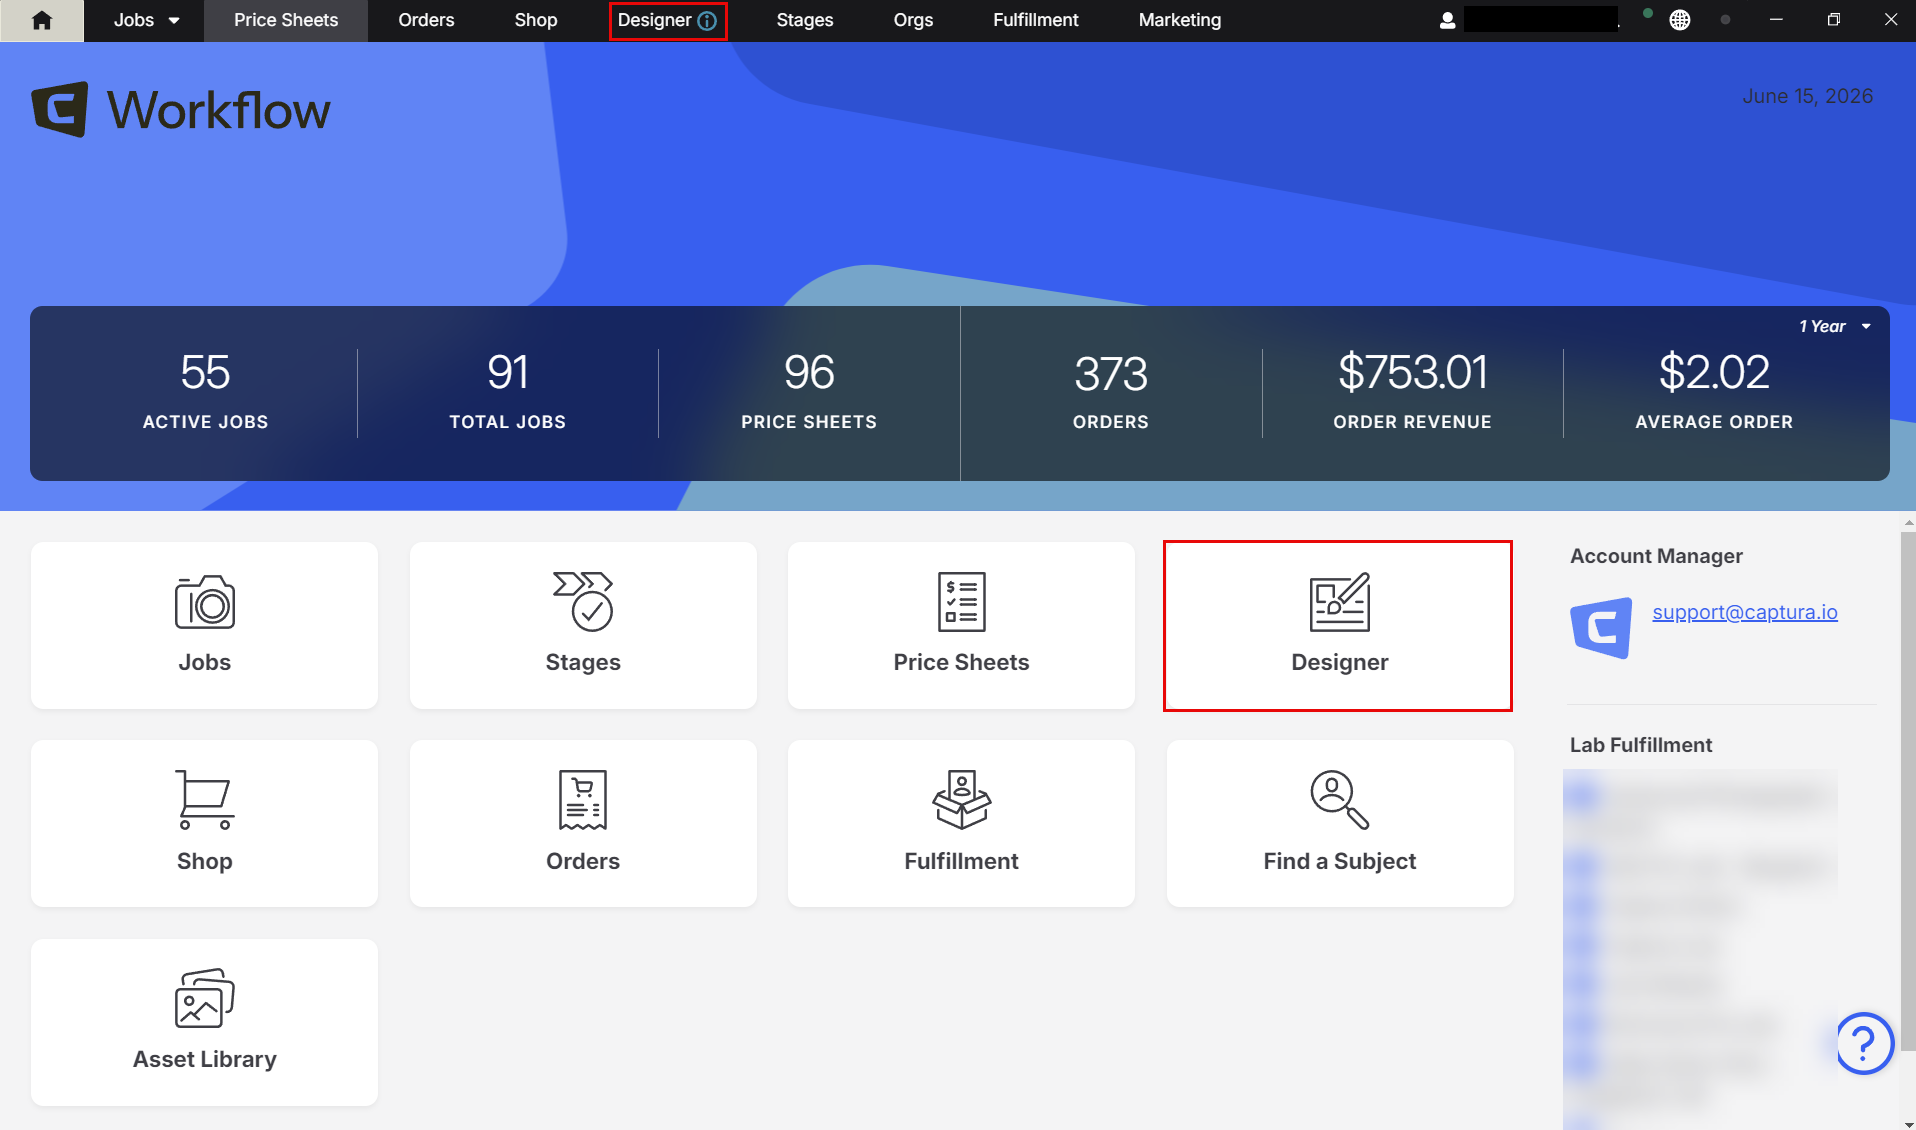
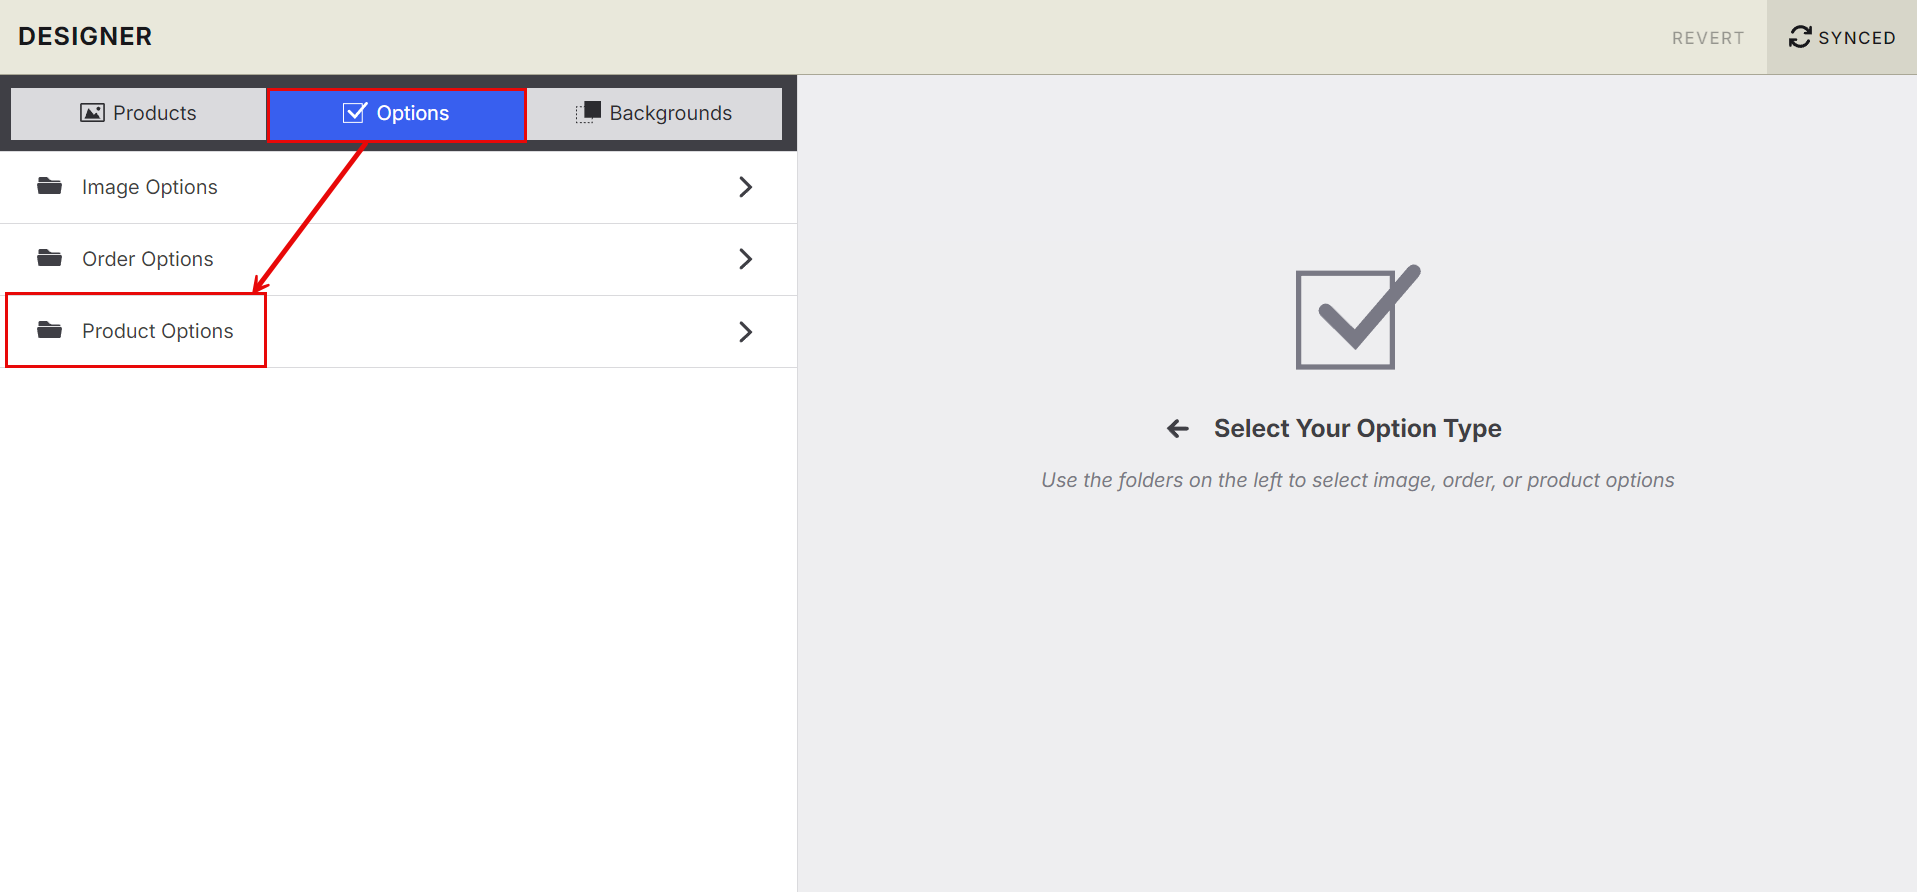
Navigation Path
Home → Designer → Options → Product Options
Step-by-Step Instructions
1. Create a New Product Option
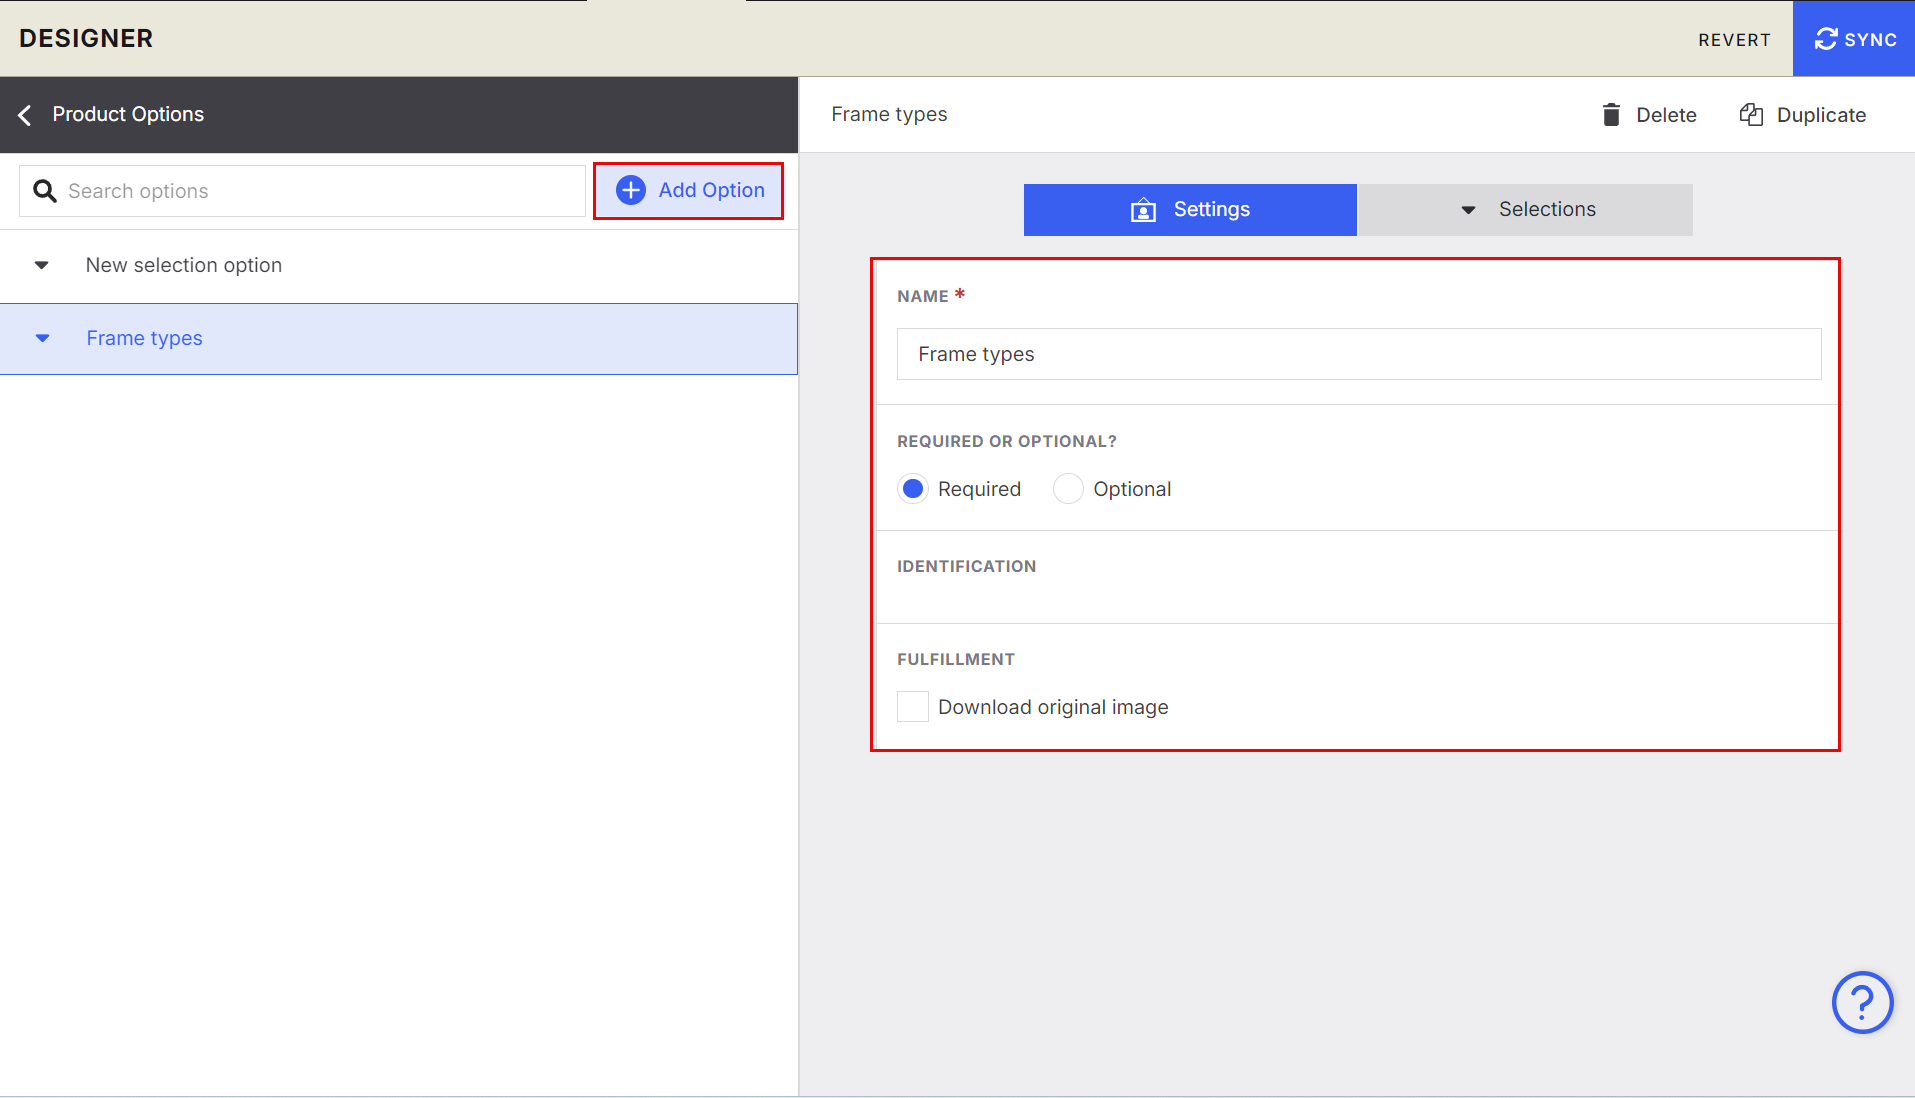
Click Add Option.
Enter a Name for your option (e.g., “Frame Type,” “Print Material”).
Choose whether the option is a Required Field.
Required options must be selected before checkout.
Optional options allow customers to skip the selection.
2. Add Option Choices
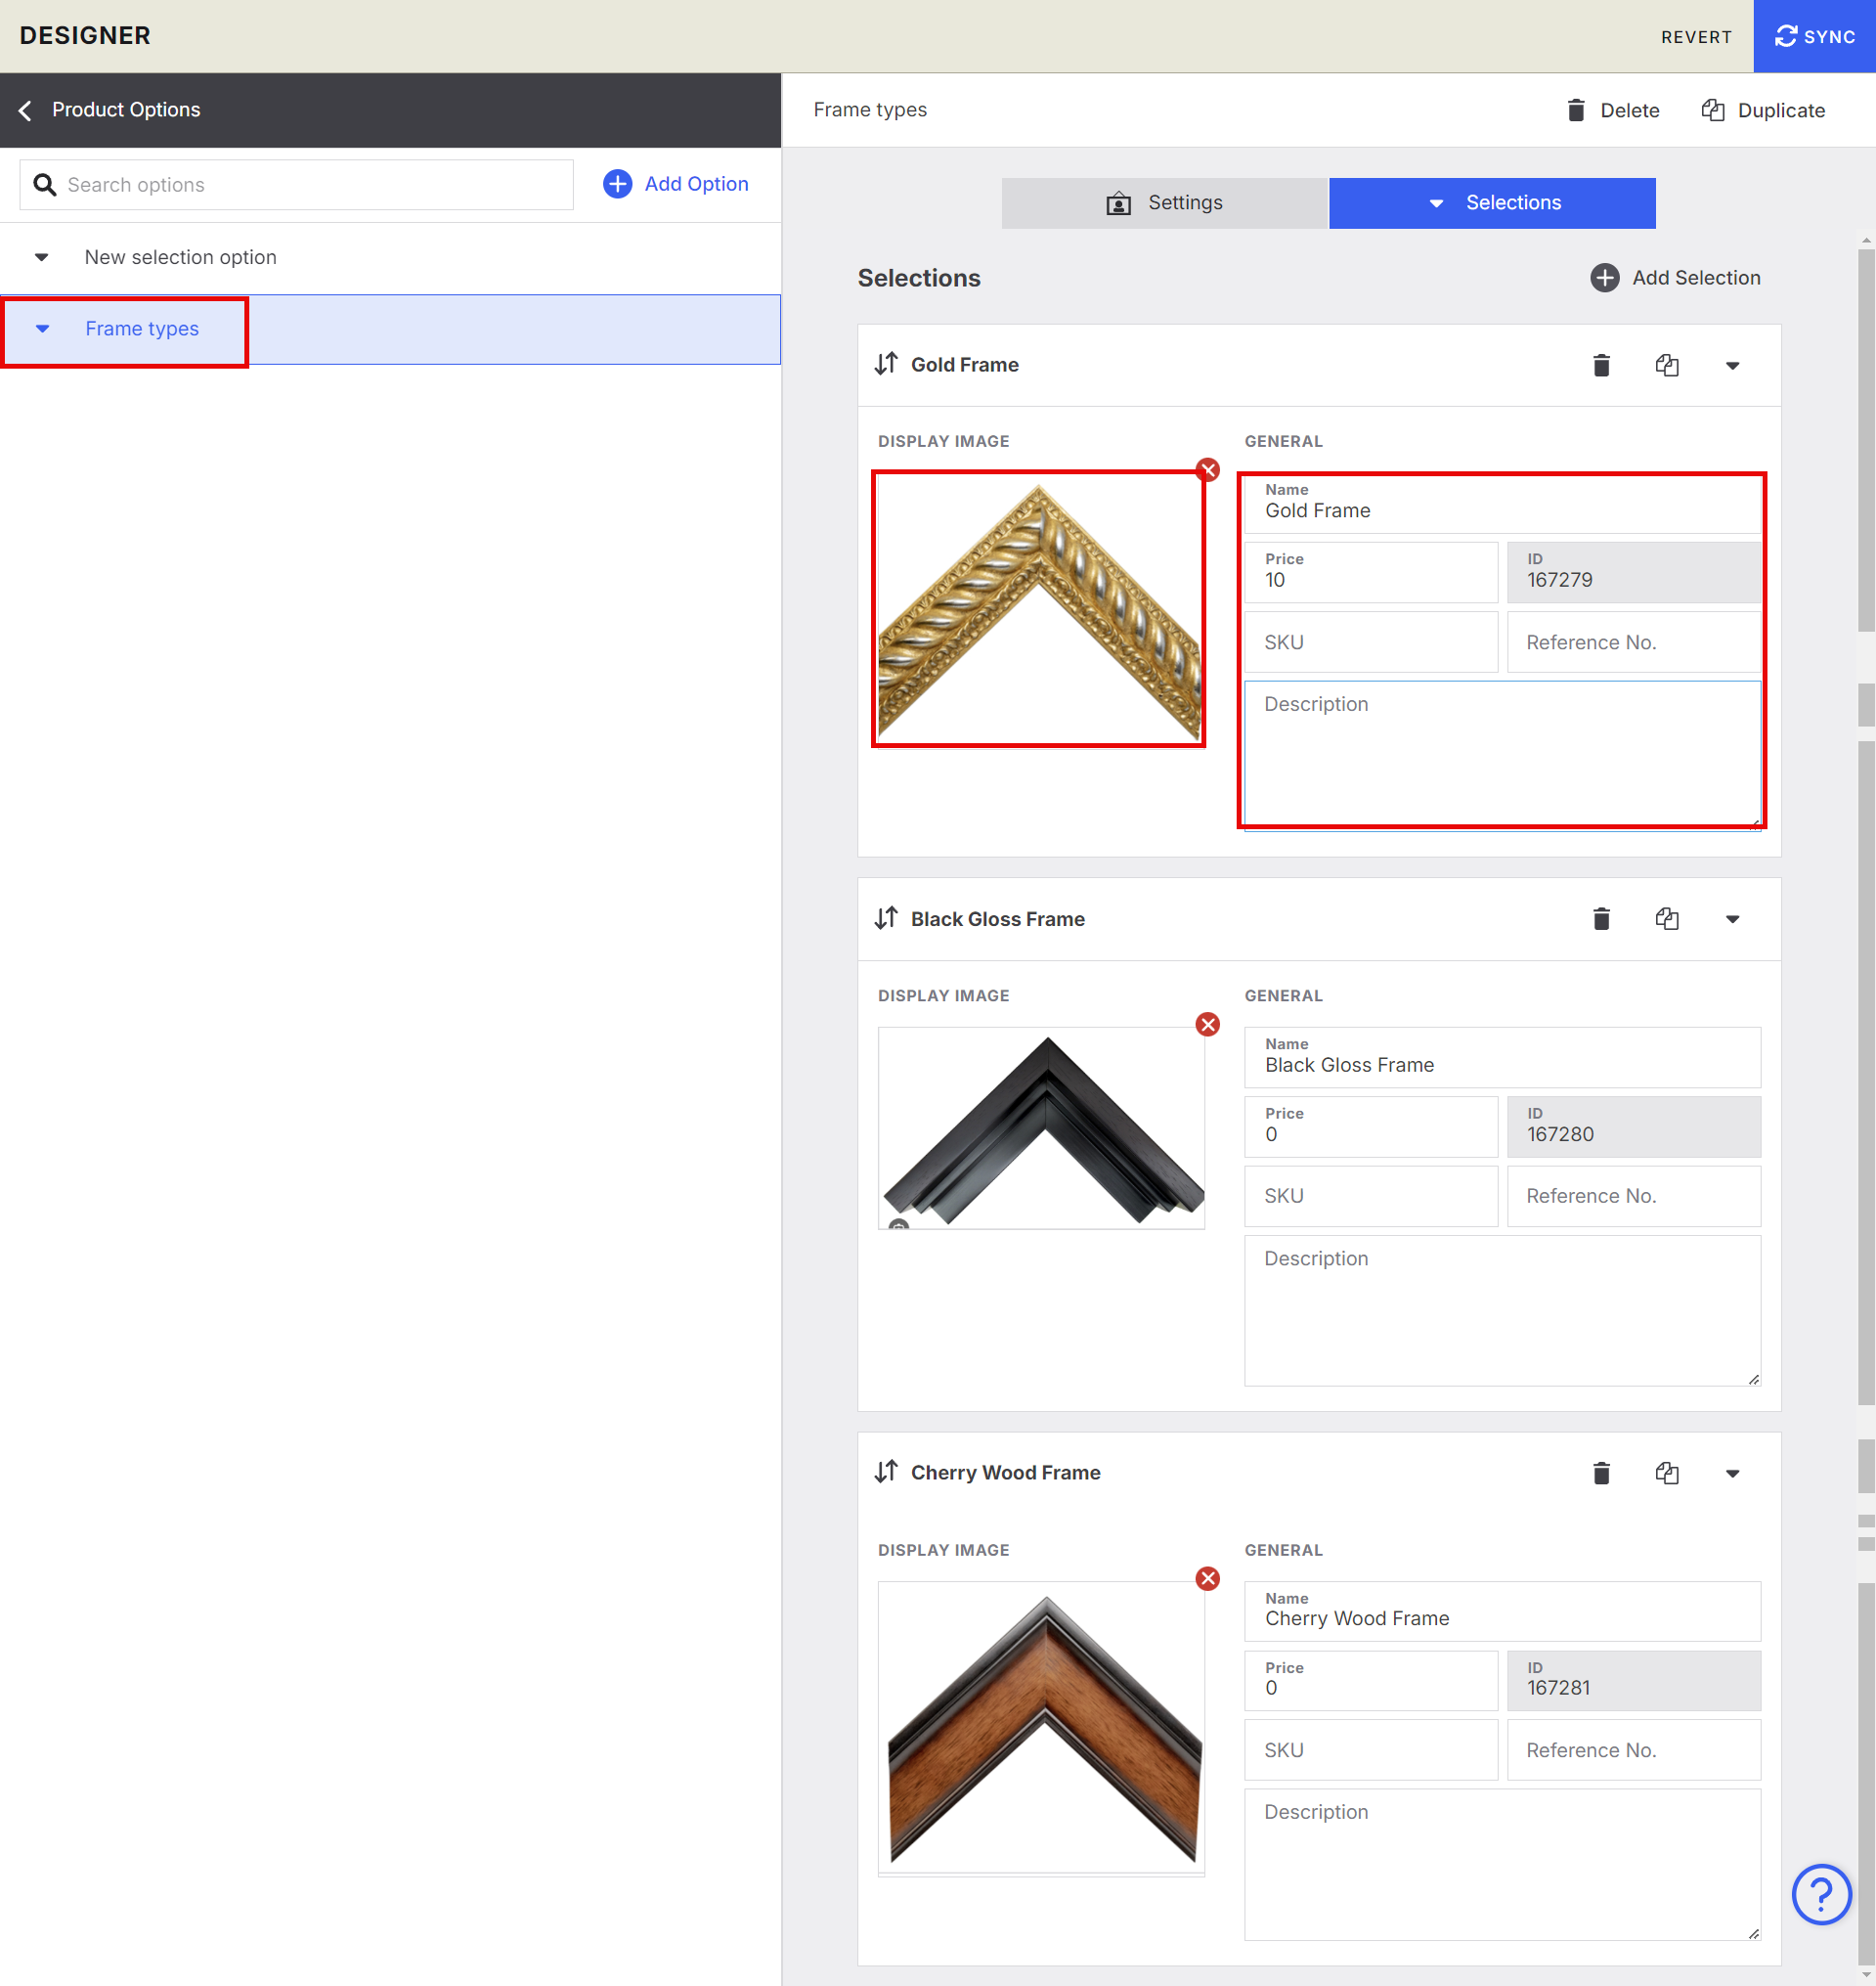
Each Product Option can contain multiple selectable choices.
For each choice, you can configure:
Name The label customers will see (e.g., “Black Frame,” “Metal Print”).
Images Upload images to visually represent each choice.
SKU (optional) Add a SKU if your lab or internal workflow requires it.
Description (optional) Provide additional details about the option.
Repeat this process for each choice you want to offer.
3. Sync Your Changes
Click Sync to save your Product Option and make it available for use in your products.
Examples in Shop: