
Managing Pages in Your Book
Page Editor Overview
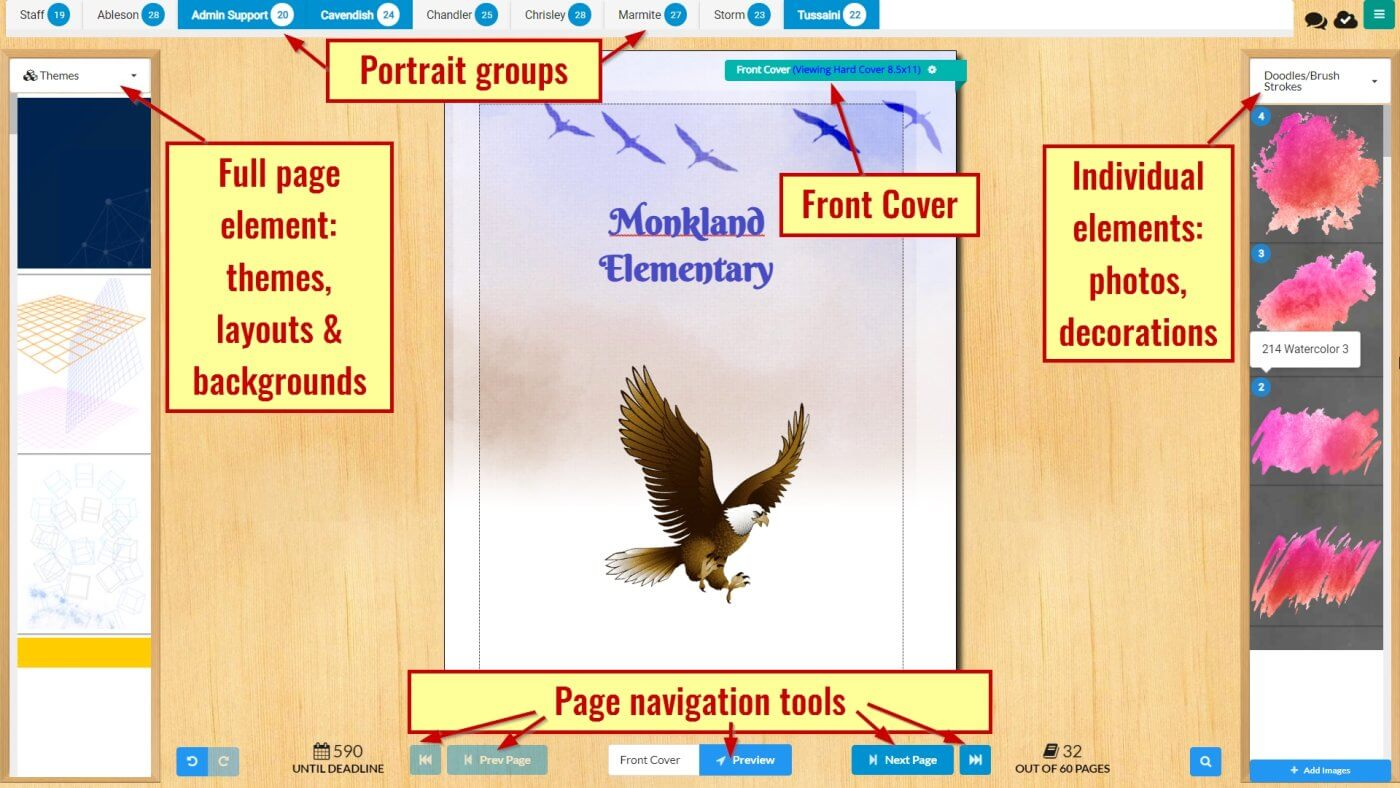
The page editor provides access to content and tools in preset areas:
Full page elements (themes, layouts and backgrounds) are available on the left-side pane.
Individual elements (photo collections and decorations) are available on the right-side pane.
Portrait collections are available on the top pane.
Page navigation tools are available at the bottom of the screen.
Page Navigation & Management
Use the arrows options at the bottom of your screen to quickly move to the start/end of your book, or to move to the previous/next page.

Type in a particular page number to get to that page immediately.

The Preview button launches a ladder view of your project where you can see your entire book structure and manage pages. Your yearbook will be submitted from the book previewer as well. |
|
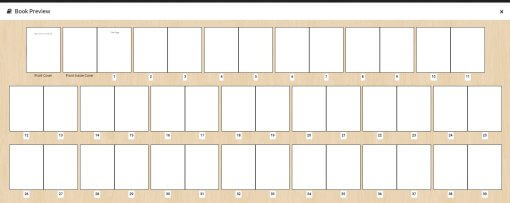
When you first start your project, the ladder will consist of blank pages representing the total allotted page count for your book. At this stage, you may label your pages, move pages around and assign pages to team members, but you cannot add or delete pages. |
|

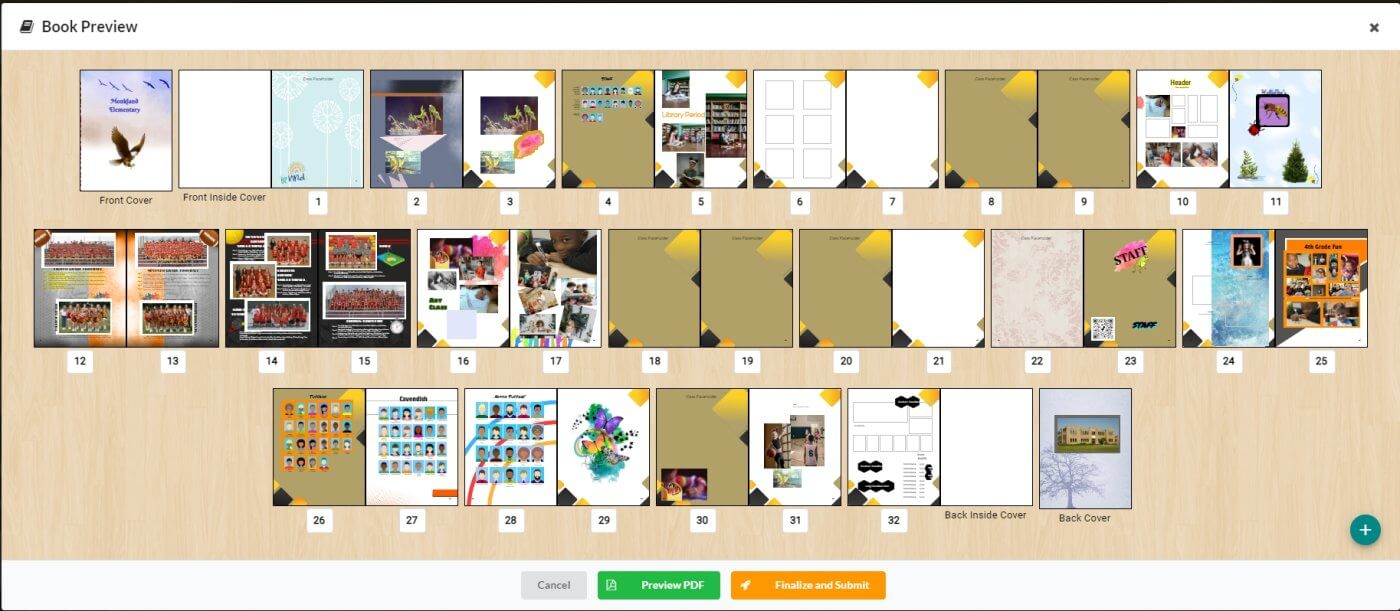
As you add content to your pages, the page previews will update to show content.
Ladder planning tools
|
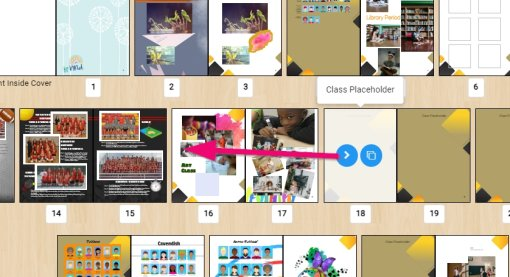
Moving pages on the ladderTo move a page to a new location on the ladder, click down on the page and drag it into a new position. Note that pages are organized as double-page spreads, so be careful when moving pages that you don’t accidentally break up two facing pages that share a theme or common background |
|
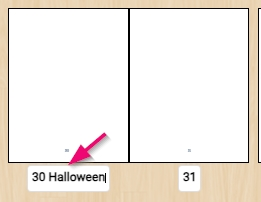
Renaming (labelling) pages on the ladderAdding page topics under each page in your book. Click next to any of the page numbers. Type your page topic name. |
|
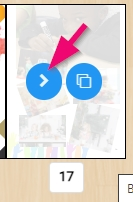
Launching a page in the editorTo launch a page in the editor, hover over it. Click on the > button. |
|
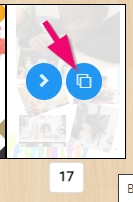
Duplicating a pageTo duplicate a page, hover over it.
|
|
Deleting a pageIf extra pages have been generated by flowing portraits and your book is now over the allowed page limit, you will need to delete extra pages in order to submit your book.
|
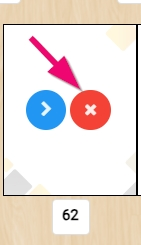
To delete a page, hover over the page. Click on the X icon to remove it. |
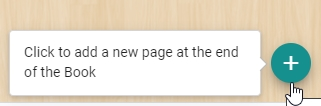
Adding a pageIf your page count was increased by your studio or if you have condensed portrait pages, and your book is under your page limit.
…click on the + icon on the bottom right side of the book preview to add an additional page. |
Note that you cannot add pages if you are on or over your page limit. If you need to increase the book page count, contact your publisher to request this change. |


Assigning users to pages
Users may be assigned to work on selected pages in the yearbook. User assignment does not occur in the editor, but in the Plic Dashboard’s Users tab. To learn more, consult the Managing User Accounts article.