
Getting Started with Shopping Cart Templates
Brief Overview
Shopping Cart Templates let you customize how your online galleries look and behave for your customers. From branding and messaging to shipping, taxes, and checkout options, templates help you create a consistent ordering experience across every job.
Once you've created a Shopping Cart Template, it can be assigned to one or more jobs, making it easy to reuse the same settings throughout your season.
Overview & Objective
Shopping Cart Templates allow you to customize your online ordering experience by configuring:
Gallery appearance and branding
Customer messaging
Image ordering options
Watermarks
Shipping and handling settings
Tax settings
Checkout options
Promotional banners
Using templates helps keep your customer experience consistent while reducing the need to configure the same settings for every new job.
Setup / Configuration
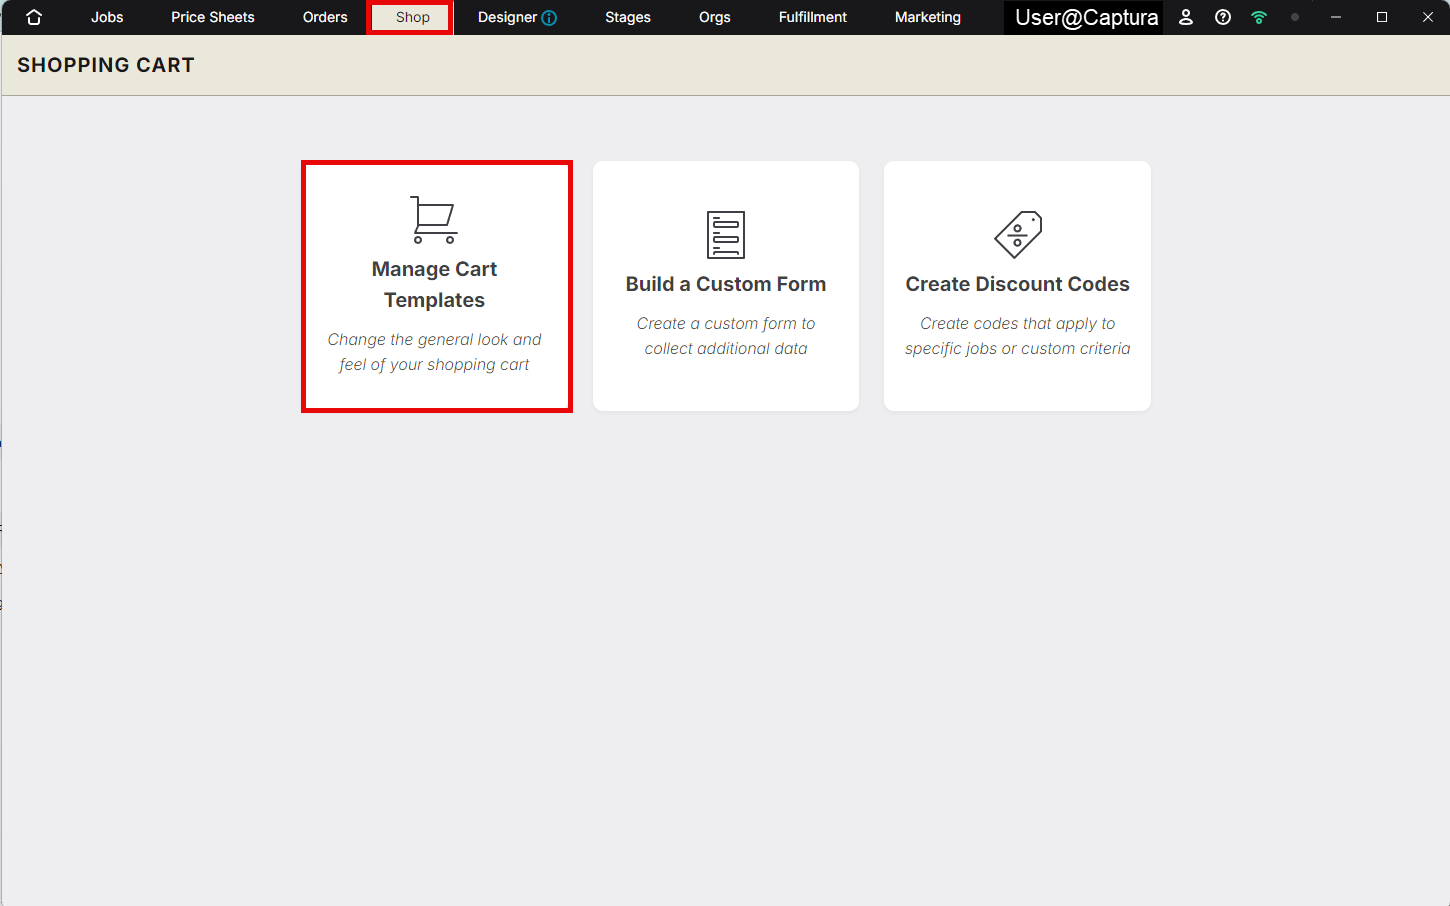
To manage Shopping Cart Templates:
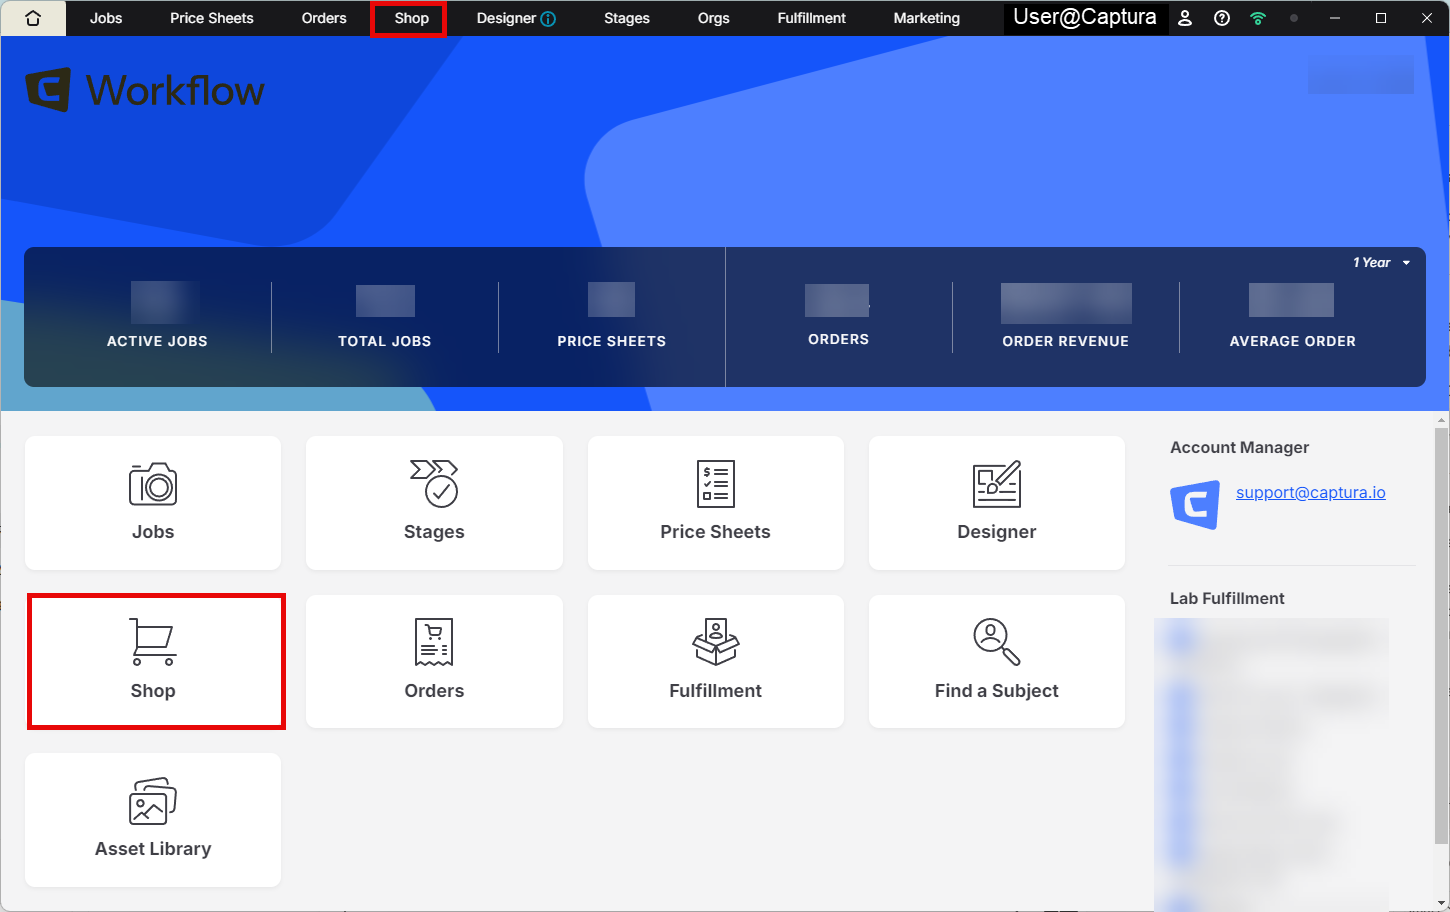
From the Workflow homepage, select Shop.
Select Manage Cart Templates.
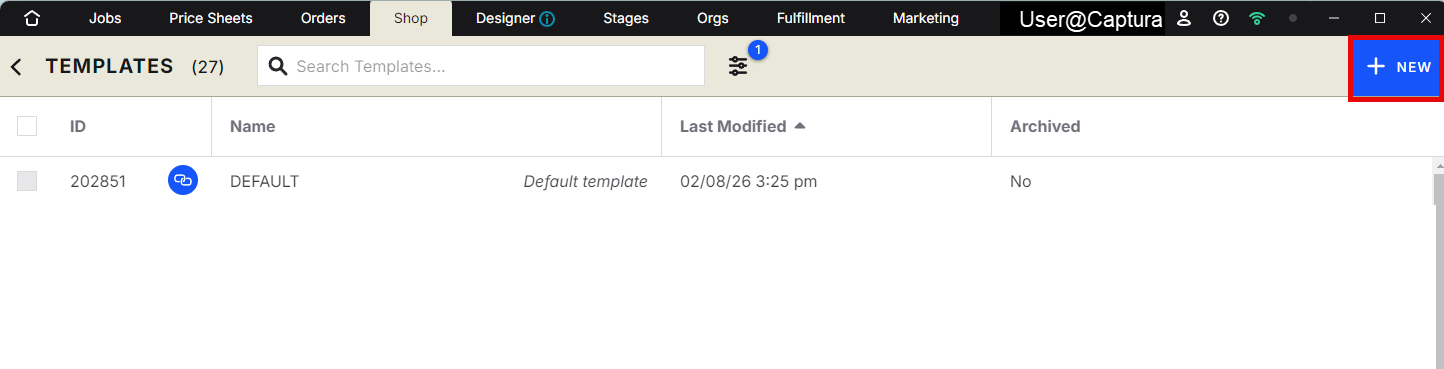
To edit an existing template, select its name.
To create a new template, select the green + New button in the upper-right corner.
New templates are created as a copy of your current default template, making it easy to build from settings you've already configured.
💡 PRO TIP: Review your Shopping Cart Template before making a job active for online ordering. Changes are saved immediately and apply to every job using that template.
Step-by-Step Instructions
Appearance:
The Appearance section controls the overall look and messaging customers see while shopping online.
Setting | Description |
|---|---|
Template Name | Give your template a descriptive name, such as Bulk Ordering or Direct Ship. |
Wallpaper | Choose one of the built-in wallpapers or upload your own image (5:1 aspect ratio, maximum 500 px on the longest side). |
Thank You Message | Display a custom message after a customer completes checkout. |
Gallery Expired Message | Display a message when a customer visits a gallery after its expiration date. |
Gallery Unavailable Message | Display a message when customers can't access a gallery, such as when images haven't been uploaded or the job is inactive. |
Promotional Banner | Display a promotional message at the top of your online shop. This banner appears on both desktop and mobile devices. |
Image Options | Choose whether customers can crop their images or apply Black & White or Sepia filters before ordering. |
Online Code Help Message | Provide instructions to help customers locate their Online Code or contact your studio for assistance. |
Checkout Options | Choose whether customers can leave notes with their order during checkout. |
Watermark:
The Watermark section controls how preview images are protected within your online galleries.
Setting | Description |
|---|---|
Type of Watermark | Choose to use a text watermark, image watermark (PNG recommended), or no watermark. |
Type Your Text | Enter the text you'd like displayed as your watermark. Use the © button to insert a copyright symbol, then select Preview Watermark to review the result. |
Upload Your Image | Upload a JPG or PNG image to use as your watermark. Select Preview Watermark to see how it appears on a sample image. |
Choose a Position | Select where the watermark appears on gallery images. Tiled Diagonal is recommended because it provides the greatest image coverage. |
Dynamic Watermark | Enable an additional watermark layer that works alongside your existing watermark to make image removal more difficult. Select Learn More for additional information. |
Check out more on Watermarks here: Image Protection Measures in the Shop
Shipping & Handling:
The Shipping & Handling section controls how customer orders are delivered and how shipping or handling fees are applied.
Setting | Description |
|---|---|
Shipment Type | Choose whether orders are Pick-Up Only, Direct Ship Only, or Customer Choice. Only Pick-Up orders can be bulked together for high-volume pricing. |
Pickup Location | Select the pickup location displayed online and on customer invoices. This option is only shown when Shipment Type is set to Pick-Up. |
Minimum Order Amount | Set the minimum cart subtotal required before checkout. |
Shipping Label | Customize the text that replaces "Shipping" on customer invoices. |
Shipping Rate | Set the flat shipping rate for direct shipped orders. |
Handling Rate | Set the handling fee applied to customer orders. |
Handling Label | Customize the text that replaces "Handling" on customer invoices. |
Handling Rate Type | Choose whether the handling fee is calculated as a fixed amount or a percentage of the order subtotal. |
Tax:
The Tax section controls how Workflow calculates and collects sales tax for customer orders.
Setting | Description |
|---|---|
What Do You Want to Tax? | Choose how Workflow applies tax to orders. When All Orders is selected, Workflow collects tax on all qualifying orders. When disabled, tax is only collected on orders shipped to the same state listed under Preferences > My Studio. Selecting Shipping also applies tax to shipping charges. |
Tax Label | Customize the text that replaces "Tax" on customer invoices. |
Tax Rate | Set the tax rate applied to eligible orders. |
Digital Download Tax Rate | Set the tax rate applied to digital download products fulfilled by Captura. |
New Shopping Cart (BETA):
The New Shopping Cart (Beta) section includes additional branding options for the updated online shopping experience.
Setting | Description |
|---|---|
Brand Color | Choose from eight built-in accent colors for the online shop. |
Wallpaper Configuration | Choose how your wallpaper is displayed on the gallery login page. Select Cover for photographic images that fill the screen, or Fit for graphics or text-based images that should remain fully visible. |
Advanced Options / Additional Rules
When are changes applied?
Any changes you save to a Shopping Cart Template are applied immediately to every job using that template.
Important: If changes are made while a job is already active, customers who have previously visited the gallery may still complete their order using cached settings stored by their browser.
For the best customer experience, review and finalize your Shopping Cart Template before activating a job for online ordering.
Common Questions
Q: Can I use the same Shopping Cart Template for multiple jobs?
A: Yes. A single Shopping Cart Template can be assigned to multiple jobs, making it easy to maintain a consistent online ordering experience.
Q: When do changes to my Shopping Cart Template take effect?
A: Changes are applied immediately after you save the template and affect every job using that template.
Q: Why aren't my recent changes showing for some customers?
A: Customers who previously visited an active gallery may still have older settings stored in their browser cache until it's refreshed.
Q: Can I customize messages customers see during checkout?
A: Yes. You can customize messages such as the Thank You message, Gallery Expired message, Gallery Unavailable message, Promotional Banner, and Online Code Help message from the Appearance section of your Shopping Cart Template.