
Creating a Custom Profile in Enhance
This guide walks you through how to create and use custom profile presets for your jobs in Skylab Studio.
Our cropping tool uses perceptual head sizing to ensure a consistent crop across subjects in a job. We offer both default yearbook sizing (profile named “PSPA”) as well as the ability to build out custom crops through our Simple Profile workflow
1. Start a New Profile
Click the Profile tab on the left side of your screen.

2. Choose Your Profile Flow
When creating a profile, you can choose between two setup flows:
Simple Flow
Recommended for when building crop profiles
Allows you to upload your own sample images.
Lets you visualize edits in real time
Provides access to cropping settings and other adjustments
Advanced Flow
Designed for quick setup
Lets you turn features on or off rapidly
Does not allow uploading sample images
3. Customize Your Crop
Name your Profile
Upload 1-5 sample images
Choose your crop presets. Each preset includes a clear explanation of what each button does
You can choose to use the default PSPA crop or customize.
If you choose to customize you can drag and move the crop on your image to suit your needs
Click the "Cop" button to preview. If you are not happy with the crop you can go back and edit
Learn More HERE

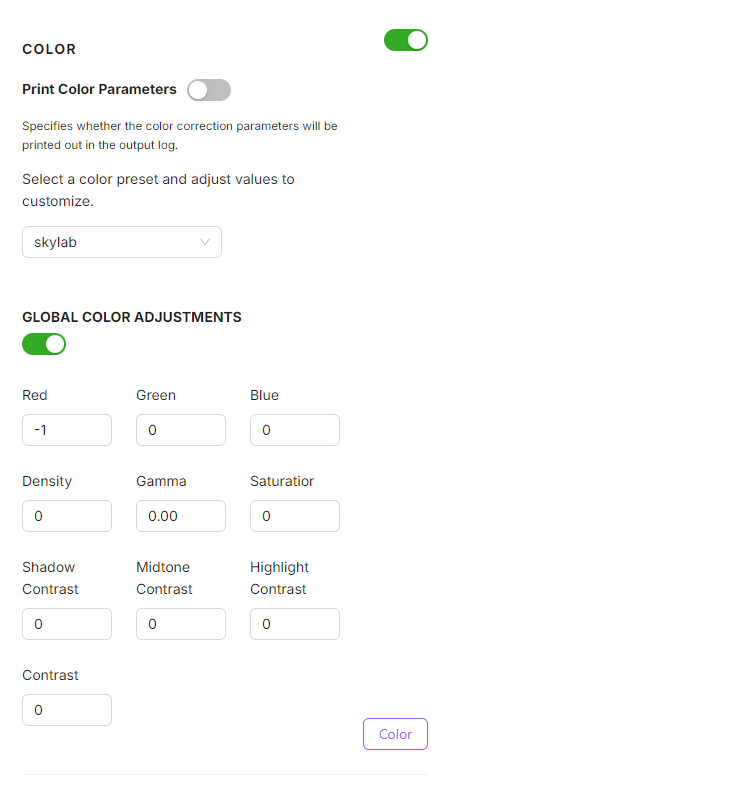
4. Color Presets
If you have a specific color adjustments that need to be made you can set them or you can leave as the default
Learn more HERE
5. Retouching Options
Choose any retouching options you need to add to this profile
Click the Retouch button and preview the changes to your sample image
Want to learn more about our retouching? Click here
Here is our pricing and profile information on our Glass glare: Glass Glare Detector
NOTE: Glass Glare is for eye glasses only
You will be charged for all images processed through the Glass Glare profile, whether or not the subjects are wearing glasses. For best results, only use this profile on images where people are actually wearing eye glasses not sunglasses.

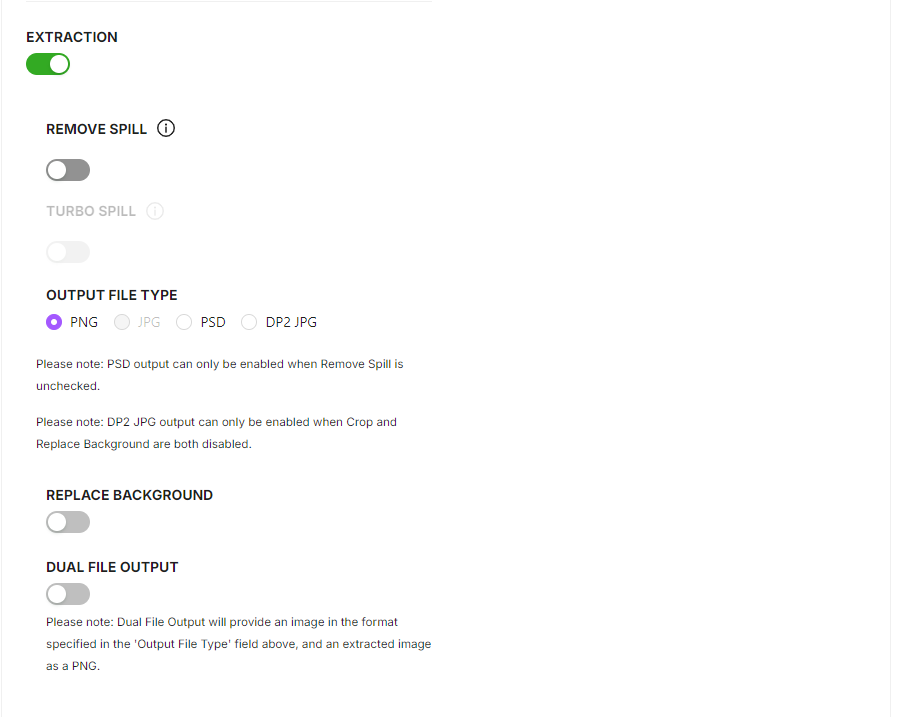
6. Extraction options
Extraction (no spill)- manages standard photos shot on solid backgrounds but does not correct for green or other color spill. Does not address ghosting around the head
Extraction w/ spill removal- manages photos shot both on green backgrounds and any other background to address color spill onto subjects. Specific fix for “ghosting” around the head of subjects
Extraction w/ Turbo Spill- for images with severe color spill. Not intended to be used as a default as there are side effects that can occur when used across a large job.
If you are not happy with the output, please contact us here: enhance@captura.ioAlways choose PNG output unless you are working with DP2
You can replace the background on all of your images by uploading your preferred background
Learn more HERE
7. Advanced Options
Strip PNG metadata: Deletes/strips all PNG meta data from the PNG output image
SRGB output: Coverts all images to sRGB color space
8. Save Your Profile
Once everything looks right, click Create Profile.
Your new preset is now ready to use.
9. Use Your Profile in Future Jobs
The next time you edit photos, simply select the job profile you created.
This ensures consistent edits and saves time across multiple projects.
Check out our pricing calculator for our profiles HERE