
Bulk Job Import
Brief Overview
Bulk Job Import allows you to create multiple jobs at once by uploading a single CSV file. This is ideal for studios managing large volumes of jobs or setting up an entire season in one step.
Overview & Objective
This article walks you through how to access the Bulk Job Import tool, prepare your CSV, upload it, and optionally add a Welcome Image. You’ll also learn the required column headings so your import runs smoothly. Understanding this workflow helps you save time and avoid manual job creation.
Setup / Configuration
Before importing, make sure your CSV includes all required column headings exactly as listed. Each row represents a job, and the system will use these fields to configure job settings such as gallery type, expiration rules, pricing, and marketing options.
Field Name | Sample Data | Description |
|---|---|---|
GalleryType | subject | Subject or Public gallery |
GalleryDate | 20260106 | The date of the job going live in format year/day/month |
JobType | underclassFall | Enter the type of job. Senior/Event/Etc. |
PreOrder | TRUE | If the job is PreOrder type "TRUE" |
GreenScreen | TRUE | If the job is GreenScreen, type "TRUE" |
ManualOnlineCodes | FALSE | If you are you are setting your own online codes type "TRUE" or "FALSE" if you are not setting them yourself. |
Keyword | Type in your Keyword for this job | |
Password | Type in password for this job | |
Title | SchoolNameUnderclass | Type in the name of this job |
ExpirationDate | Enter Expiration Date of this job in format: | |
ExpirationTime | Enter expiration time | |
ExpirationTimezone | Enter your timezone | |
VandoSettingID | 189043 | Enter your shopping cart Template ID |
PriceSheetID | 99981 | Enter price sheet ID |
CustomDataSpecID | 12873 | Enter your custom form ID |
MarketingCampaignID | 18634 | Enter your campaign ID |
WelcomeMessage | “Welcome to Studios online ordering…payment code.” (full HTML preserved) | Enter your welcome message in full HTML preserved |
WelcomeImage | Enter the link to your Welcome message | |
Reference | 112046 | Enter your reference |
status | Inactive | Enter if this job will active or inactive |
shopBetaOptIn | TRUE | Type "TRUE" to use the new shopping cart |
💡 PRO TIP: Download the sample CSV at the bottom of this article to ensure your formatting matches the required structure. This prevents import errors and speeds up setup.
Step‑by‑Step Instructions
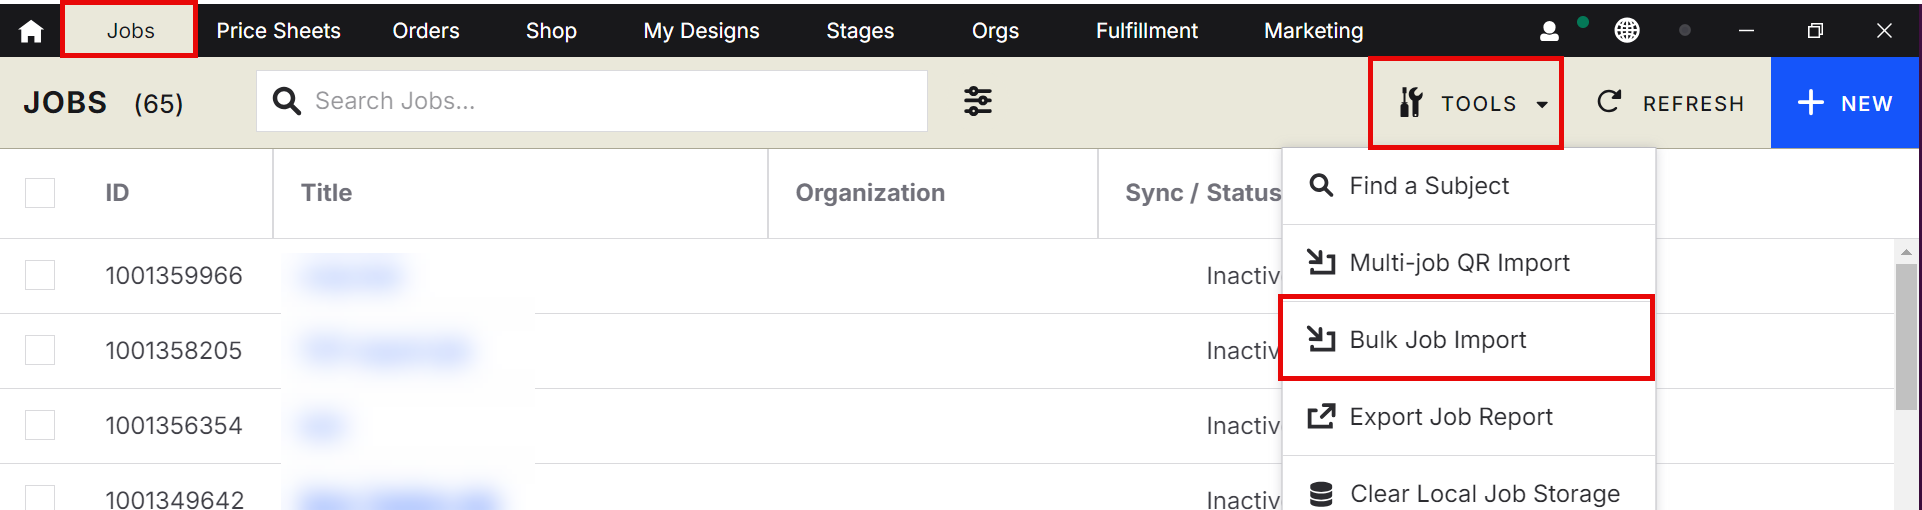
Open the Jobs tab Navigate to the Jobs tab to access job‑related tools.
Click on Tools Inside the Jobs tab, select Tools to reveal additional job actions.
Select Bulk Job Import Choose Bulk Job Import from the list of available tools.
Upload your CSV file Locate your prepared CSV and upload it to begin the import process.
Add a Welcome Image (optional) If you have a Welcome Image file, you can upload it during this step.
Advanced Options / Additional Rules
Welcome Image Handling If included, the Welcome Image will be applied to each job row that references it in the CSV.
Custom Data & Marketing Fields Fields like CustomDataSpecID and MarketingCampaignID allow advanced configuration for studios using custom metadata or automated marketing.
Expiration Settings ExpirationDate, ExpirationTime, and ExpirationTimezone must all be present for expiration rules to apply correctly.
Pre‑Order Jobs Setting PreOrder to true configures the job as a pre‑order during import.
All of these settings must be correctly populated in the CSV for the import to succeed.
Common Questions
Q: What happens if my CSV is missing a required column? A: The import will fail. Make sure all required column headings are included exactly as listed.
Q: Can I import Welcome Images for multiple jobs? A: Yes. Include a WelcomeImage value per row and upload the corresponding file during the import step.
Q: How do I know if my import worked? A: After uploading, the system will process your CSV and create jobs accordingly. Any errors will be displayed so you can correct and re‑upload