
Getting Started with Jobs
Learn how to bring everything together to create a new Job in Captura Workflow
Prerequisites
You need a price sheet and a shopping cart template before you can create a job.
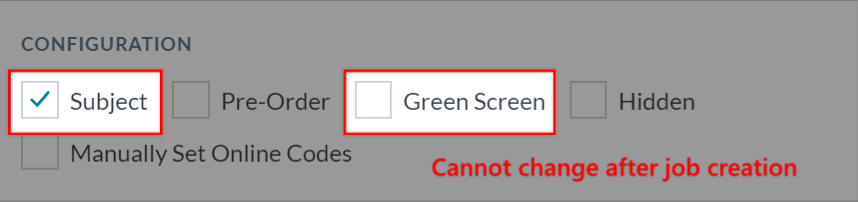
You cannot change the following job configurations after the job is created:
Subject Configuration
Checked (default): The job will have subjects to assign specific images.
Unchecked: The job has image groups for everybody to see everything.
Green Screen
Checked: The job accepts PNG images and allows background ordering.
Unchecked: The job converts PNG images to JPG upon upload.
You cannot change the following configurations after images are added to the job
- although this sounds scarier than it really is:
Image Format
Standard Format: Limiting image quality to 3200px on the longest side.
Large Format (default): Maximum image quality 6000px on the longest side.
Disable Face Detection
Faster image upload at the cost of disabling auto head-sizing.
❗Pre-Order jobs should always use a custom form❗
Getting Started with Jobs
What is a Job?
Think of a job like a folder that contains all of the Images, Orders, and Subject Data for a specific shoot or event. Everything you built and configured in Captura Workflow is used as the building blocks for a new job.
Any local changes made in a Job are to be synced back to the Captuta cloud and made available on every device you use.
Creating your first job - explained
Click Jobs to view all jobs the studio has created. Click on a job title to open, or use the blue + New button to create a new job:

❗ There are multiple, optional pages with options to configure; this article only reviews the minimum requirements needed to create a job. ❗
Once you've opened the New Job Setup tool, enter the following:
Job Title
Recommended Format: YEAR SEASON SCHOOL TYPE
Examples:
Year Fall ABC Elementary Underclass
Year Spring XYZ High School Seniors
Year Smith Wedding
Stick with a format easily identifiable to the studio and your clients.
Job Type
Select a job type from the drop-down list. Using the right type will help with:
Restricting certain discount codes to work with specific job types.
Running bookkeeping reports for specific job types.
Job filtering views from the jobs table.
The available selections are:
Wedding
Portrait
Seniors
Underclass Spring
Underclass Fall
Sports
Event
Daycare Spring
Daycare Fall
Configuration
Here you will find several options for configuring your job's type and properties:
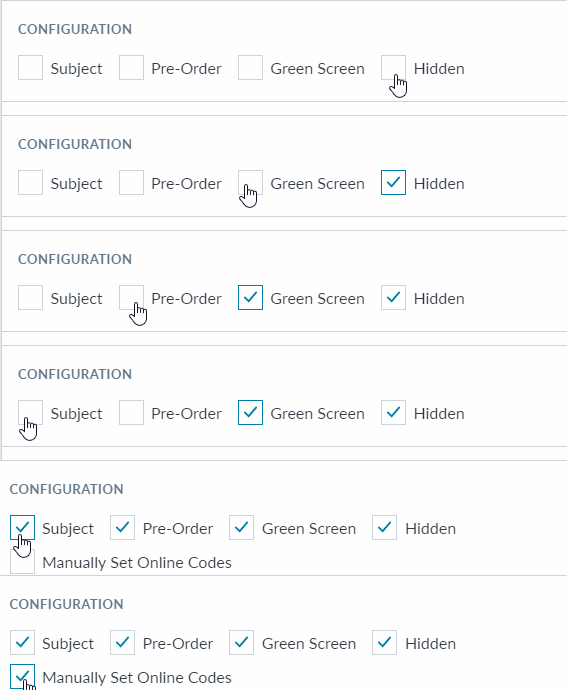
Configuration | On ☑️ | Off ⬛ |
Subject | Private galleries displaying assigned images. This option is checked by default and locked after job creation.
| One gallery showcasing all images.
|
Pre-Order | The job will support ordering in a gallery regardless of subject data or image availability.
| This job will require subjects and Images to exist
|
Green Screen | The job will display Knocked out images, where backgrounds can be applied
| This job will have jpg images displayed
|
Hidden | The job is hidden from your studio's Gallery Landing Page. Customers can only access it with a direct gallery or subject link. | Customers will be able to access with a direct gallery or subject link. The job is searchable from The Shop's gallery lookup. |
Manually Set Online Codes | The job will allow you to customize ordefine a unique id for subjects when creating a subject or importing data
| Leave unchecked to have Captura Workflow create and lock-in guaranteed unique codes for your subjects |
Images
Here you will find several options for configuring how your job handles images:
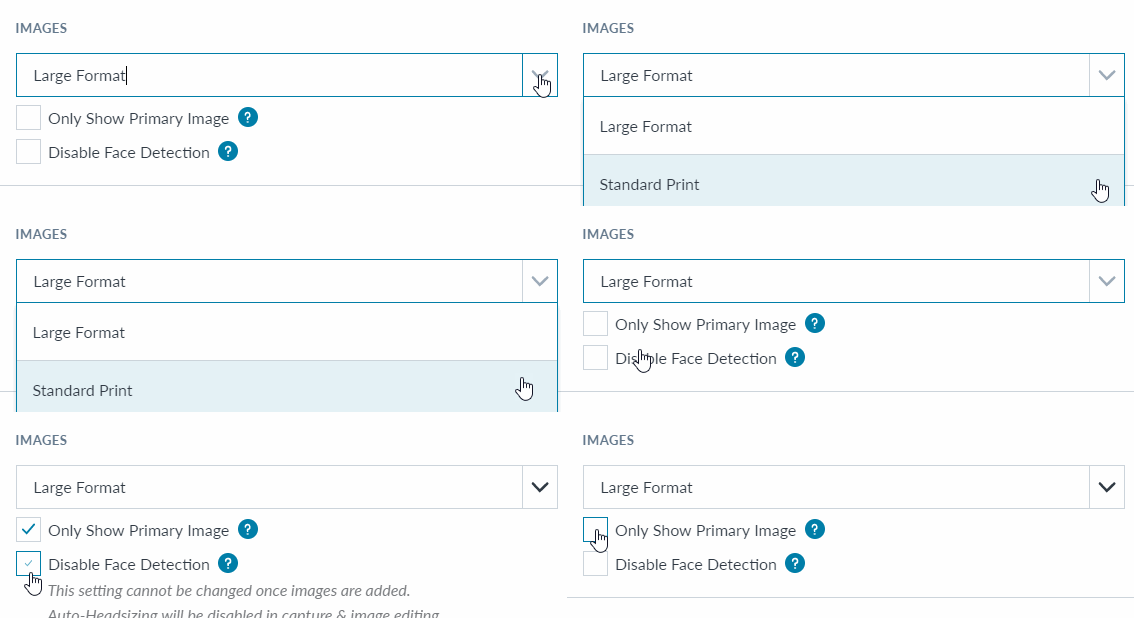
Image Configuration | Detailed | Additional |
Format | A set maximum size of an individual image that can be added; Choose from:
|
|
Only Show Primary Image | The gallery will only show a single image for each subject in their gallery. | Their primary image is studio-defined but defaults to the first image added to the gallery. |
Disable Face Detection | Removes facial image processing while importing images. | Auto Head-sizing will not be available to use in the Job - but images can be added into the job faster |
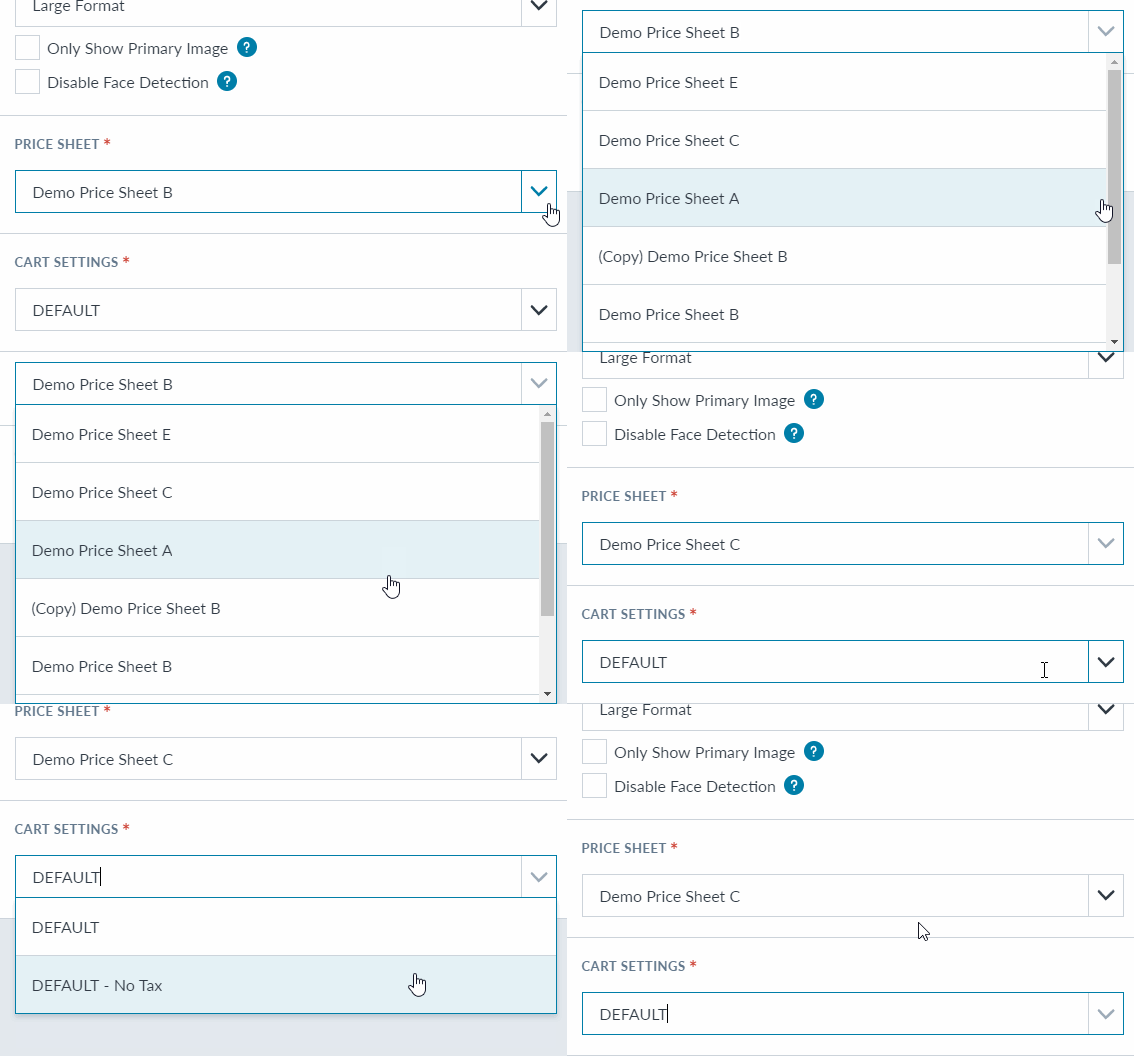
Price Sheet
Assign a price sheet to the job. Browse or search from all active price sheets created.
Cart Settings
Assign a shopping cart template to the job. Browse or search from all active templates
Create or Continue
Once finished, click on the green Create button to start your job. You'll be taken to the Subjects tab inside your new job:
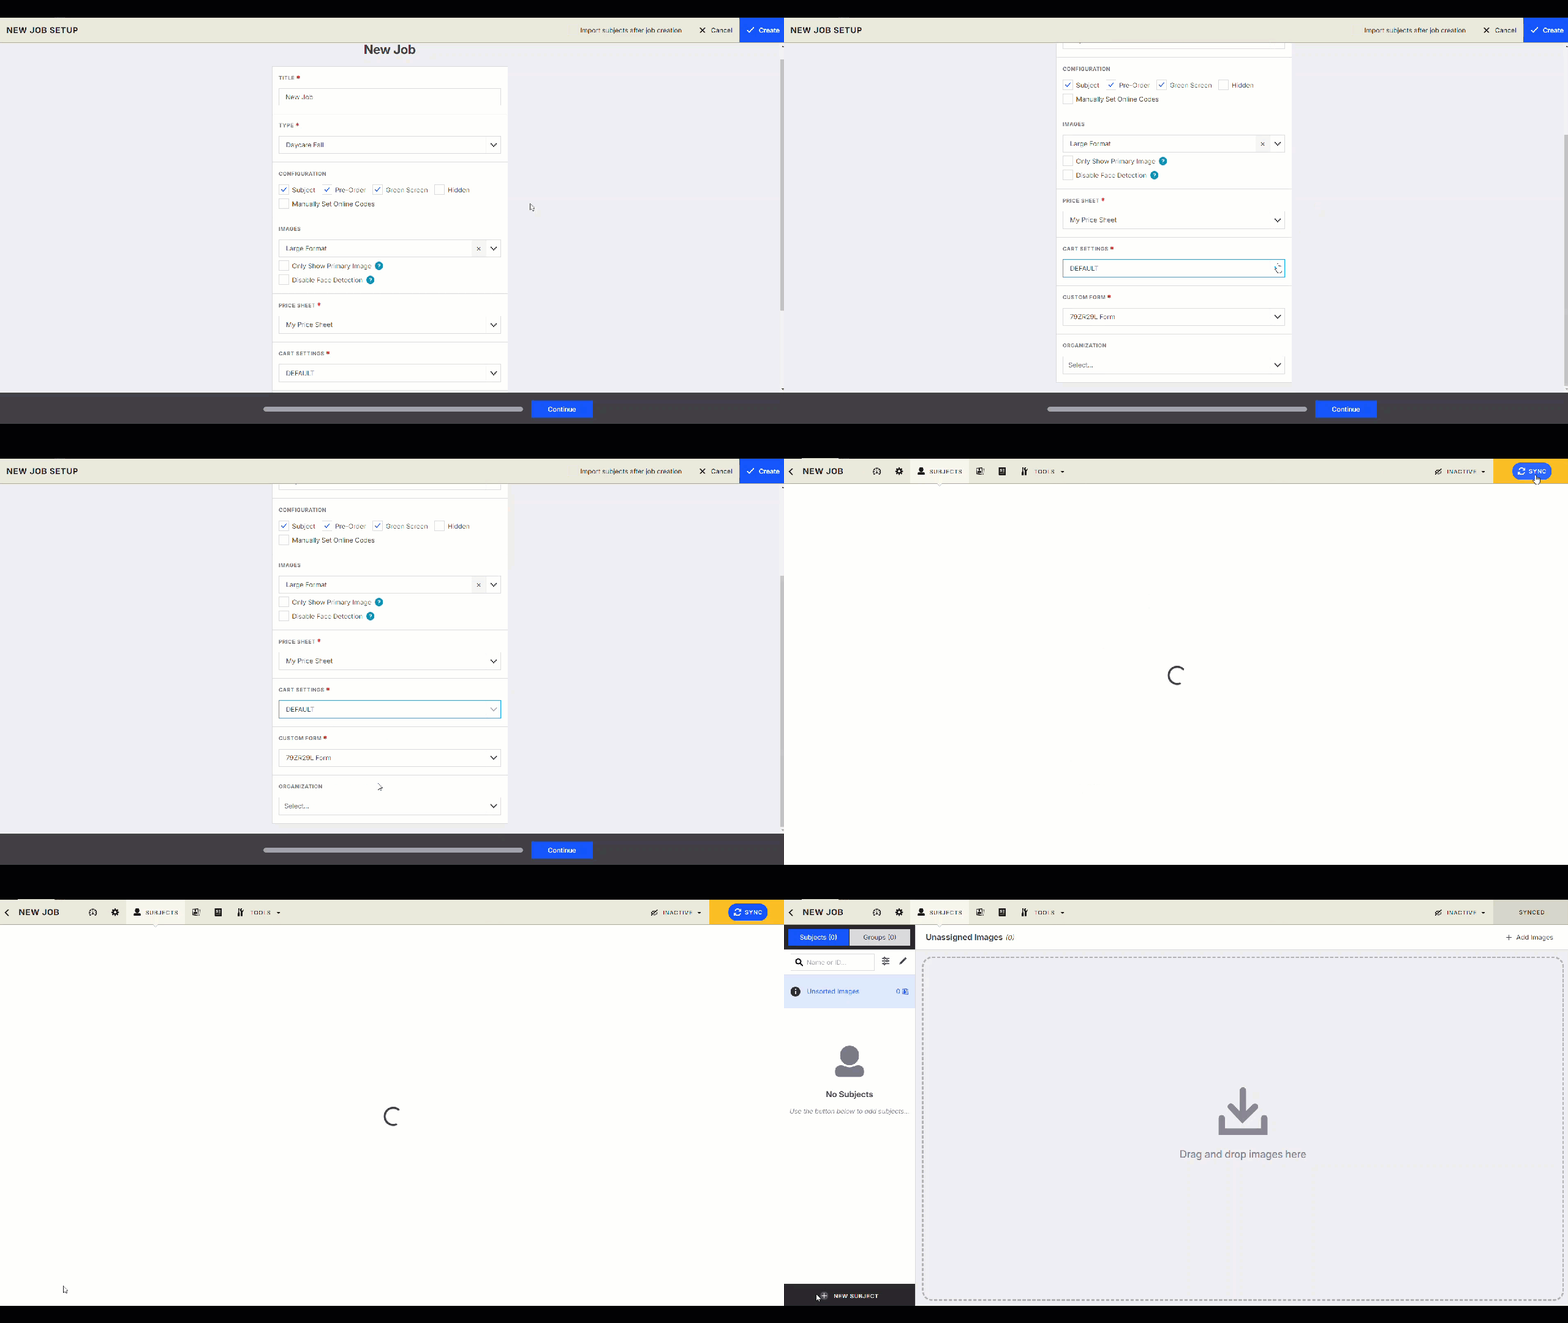
❗Check 'Import subjects after job creation' to immediately start importing data.❗
Job Creation Guide
❗There are multiple pages with options to configure during setup, but this section will only go through the minimum requirements needed to create the job.❗
Below is a table of common configurations all users start with when making a job. Click to view a screenshot of each configuration:
Job Type | Click to View | Additional |
Subject-based Jobs (Unique Online Codes) |
|
|
Standard Jobs (No Online Codes) |
|
|
Subject-based Green Screen Jobs |
|
|


Learn more about holding fulfillment here: Setup automatic holding of job orders for bulk fulfillment
Learn more about: Multi-cart checkout